
From Idea to Finished Jewelry: Real Projects
Quick answer
Every case on this page is a real production record from our factory, shown in six steps: original idea, the manufacturing challenge, CAD development, production, finished jewelry, and a direct comparison. No renders passed off as finished pieces, no stock photos, no AI-generated 'examples'.
- Real customer inputs, shown as received
- CAD history included — revisions are part of the story
- Final QC photos, not studio retouches
- Every step logged on the project's private link
Why we publish records instead of a lookbook
A polished lookbook tells you a factory can photograph jewelry well. That is not the decision you are making. The decision is whether a factory can take a rough, incomplete, emotionally-loaded idea from one person and turn it into a wearable object that survives daily life — and a beautiful final photo hides every part of that question. So these pages run the work in the opposite order from a lookbook: they start where you are now, with a drawing or a photo or a sentence, and show each intermediate step that connected it to metal.
Each case follows the same six steps on purpose, so you can compare across pieces rather than admire one at a time. Steps one and six bracket the honest gap — the raw idea and the finished reality, side by side. Steps two and three hold the engineering conversation: what was hard about the idea, and how CAD resolved it. Steps four and five are the physical making and its documentation. A case with a boring step two is rare; most interesting pieces had something that nearly did not work, and we show it.
Promise ring: hand sketch to twisted-band ring
1 · The original idea
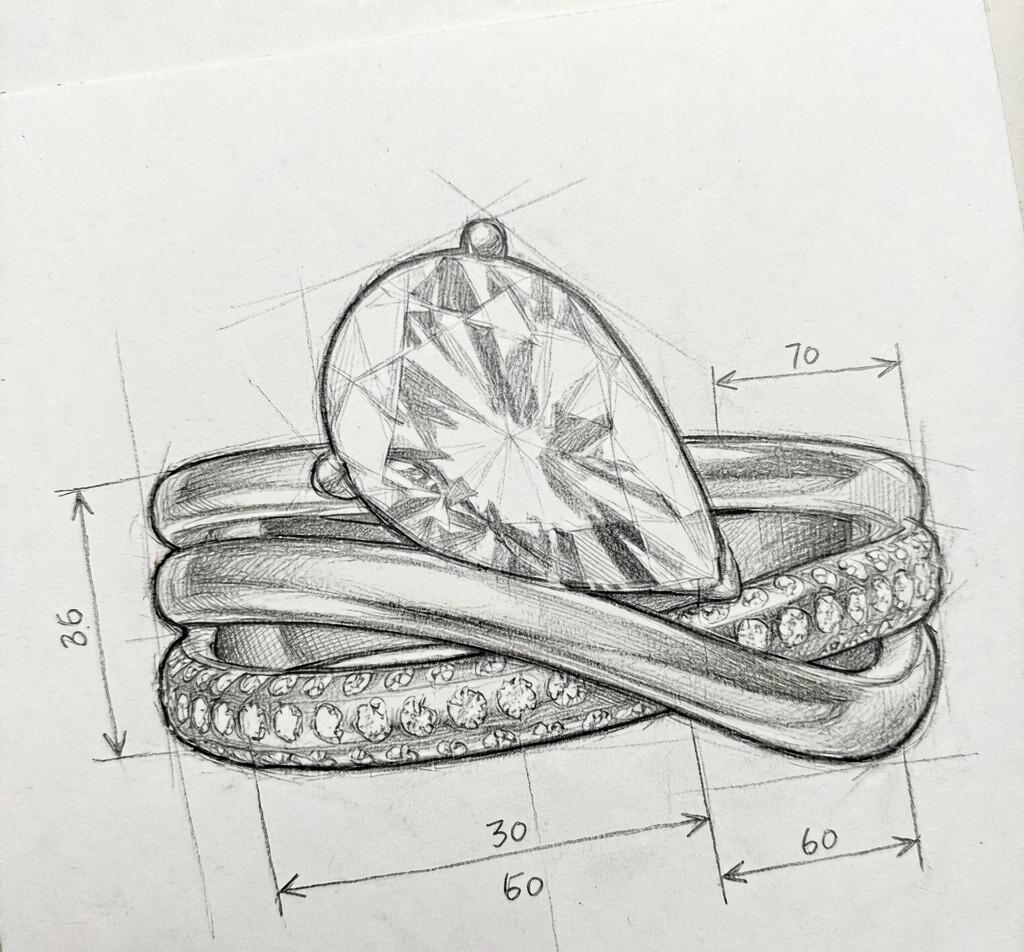
What the customer sent us: a hand sketch — file CASE-001-SKETCH-ORIGINAL.jpg. Not a brief, not a tech pack: the raw starting material, shown exactly as received.
2 · The manufacturing challenge
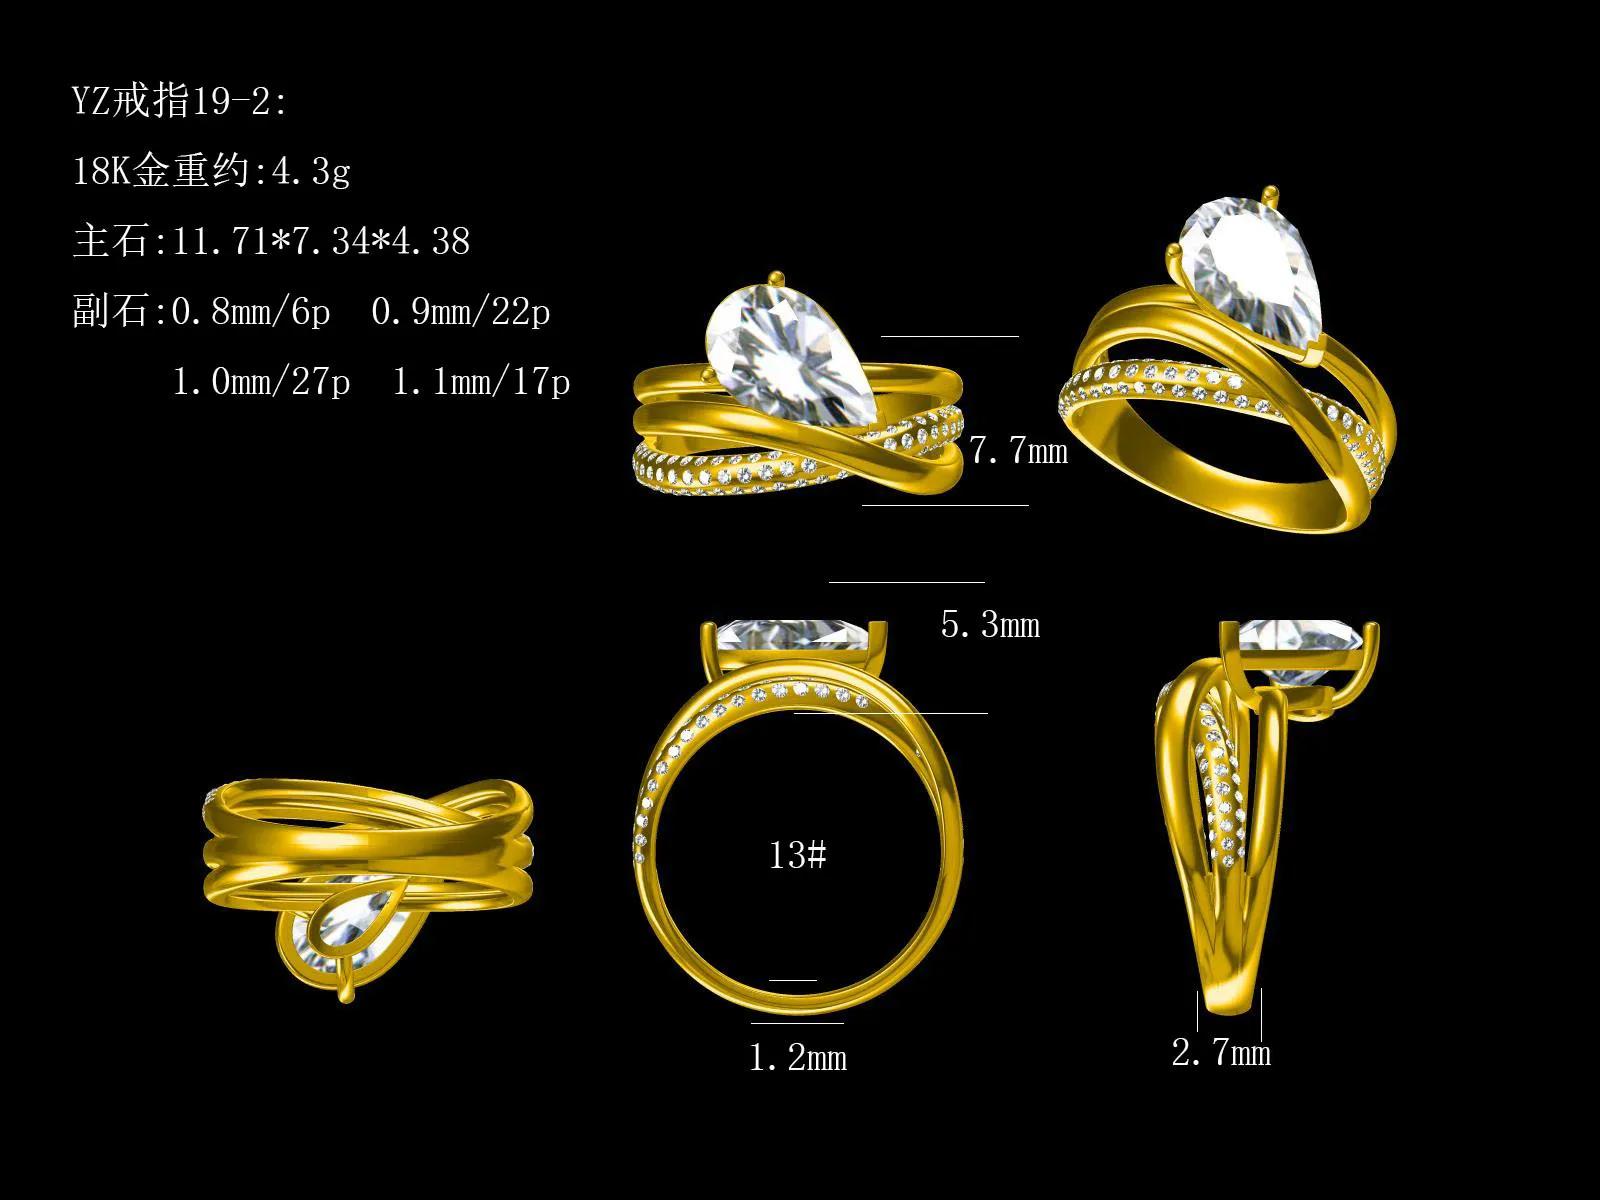
The hand sketch showed a continuous twisted band, but an unsupported twist snaps during casting. Our CAD team rebuilt it as a closed double-rail braid and thinned the profile to 1.8 mm so the twist reads visually while staying castable.
3 · CAD development
The design was rebuilt as a manufacturable 3D model — revisions stayed in CAD where they belong (2 versions: CASE-001-CAD-FRONT.webp, CASE-001-CAD-TOP.webp). Every view the customer approved came from this model, not from a mood image.
4 · Production
Approved model to printed pattern, lost-wax cast, sprue cut, bench assembly, setting and polishing — the same six stations any project passes through, logged on this piece's private tracking link as it moved.
5 · The finished piece
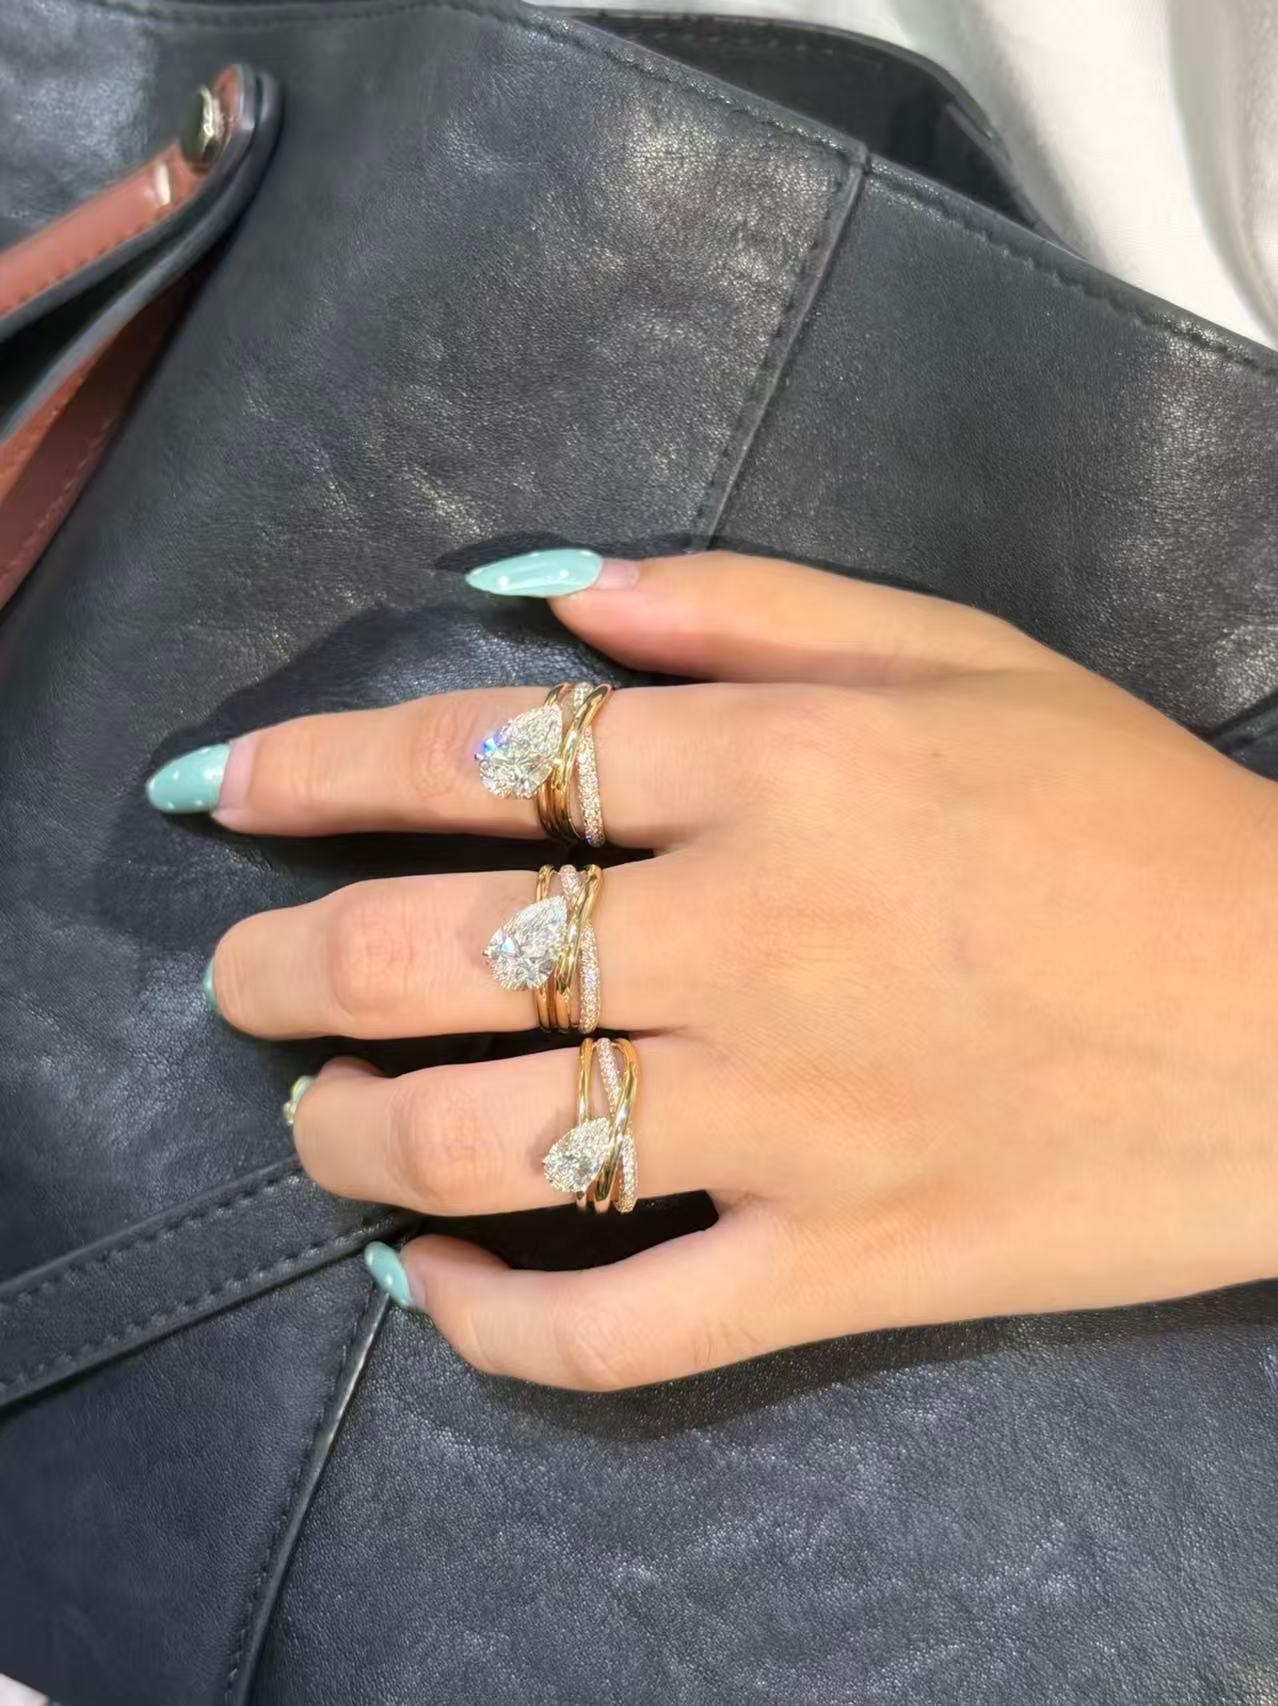
Photographed at final QC before packing — file CASE-001-FINAL-HAND.jpg. These are the photos that go to the customer first, before any box closes.
6 · Idea vs. reality, side by side
The last row of every case is the honest one: original input next to finished metal. Sometimes the difference is engineering you should never see; sometimes it is a change the customer asked for once they saw the CAD. Both are part of the record.
More from the production record
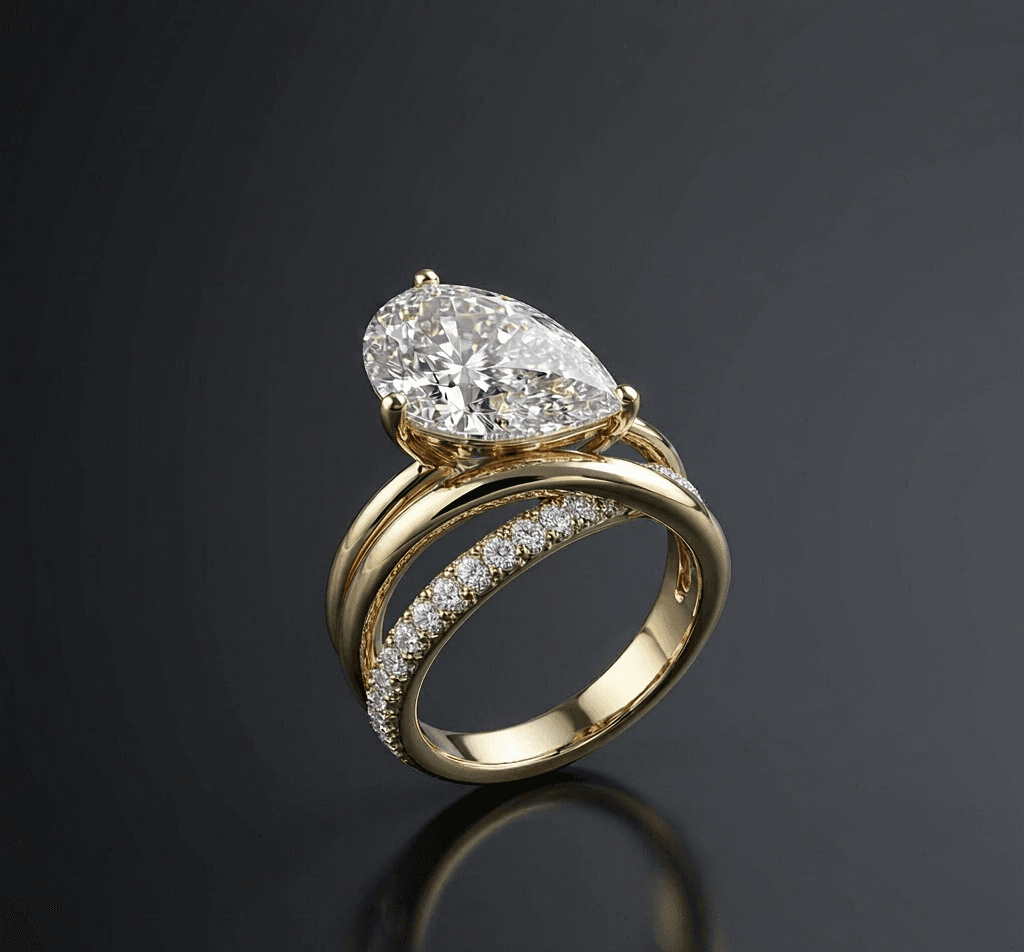
Oval engagement ring: a reference photo to a 9K gold rebuild with matching band
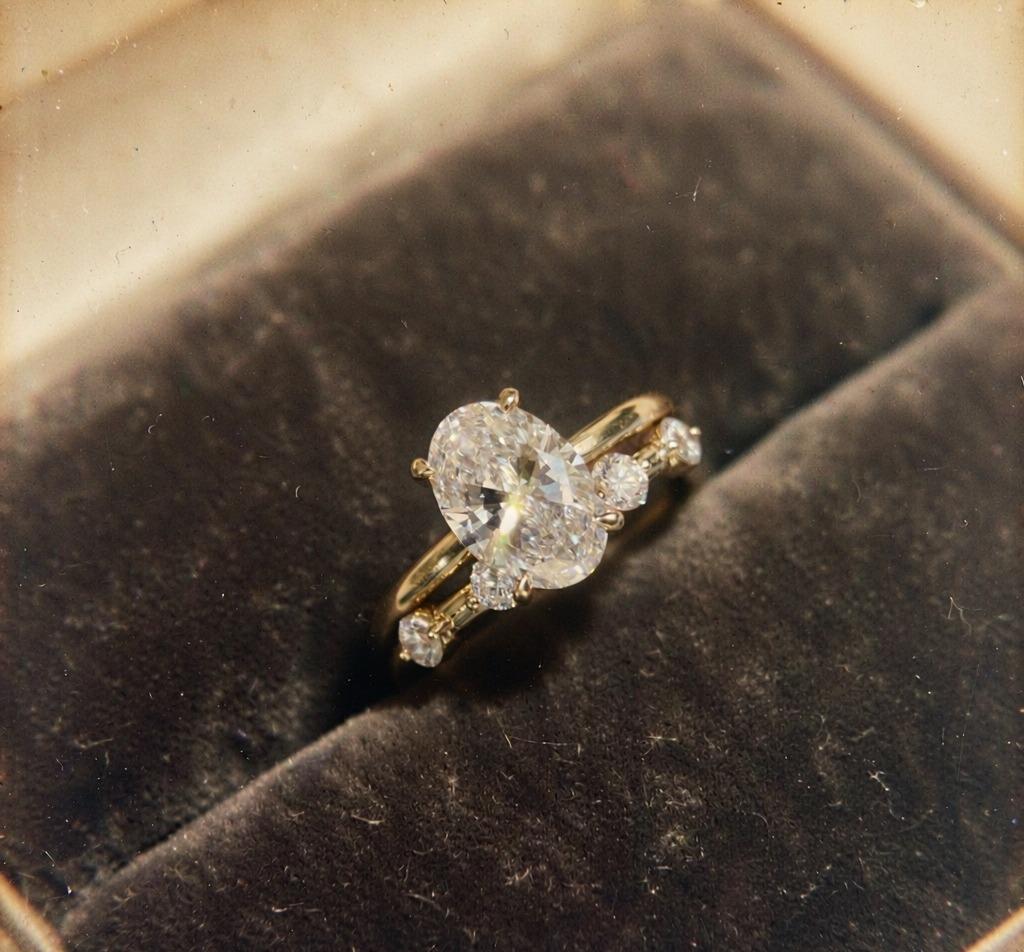
1 · The original idea
What the customer sent us: a reference photo — file CASE-002-REFERENCE-VINTAGE.jpg. Not a brief, not a tech pack: the raw starting material, shown exactly as received.
2 · The manufacturing challenge
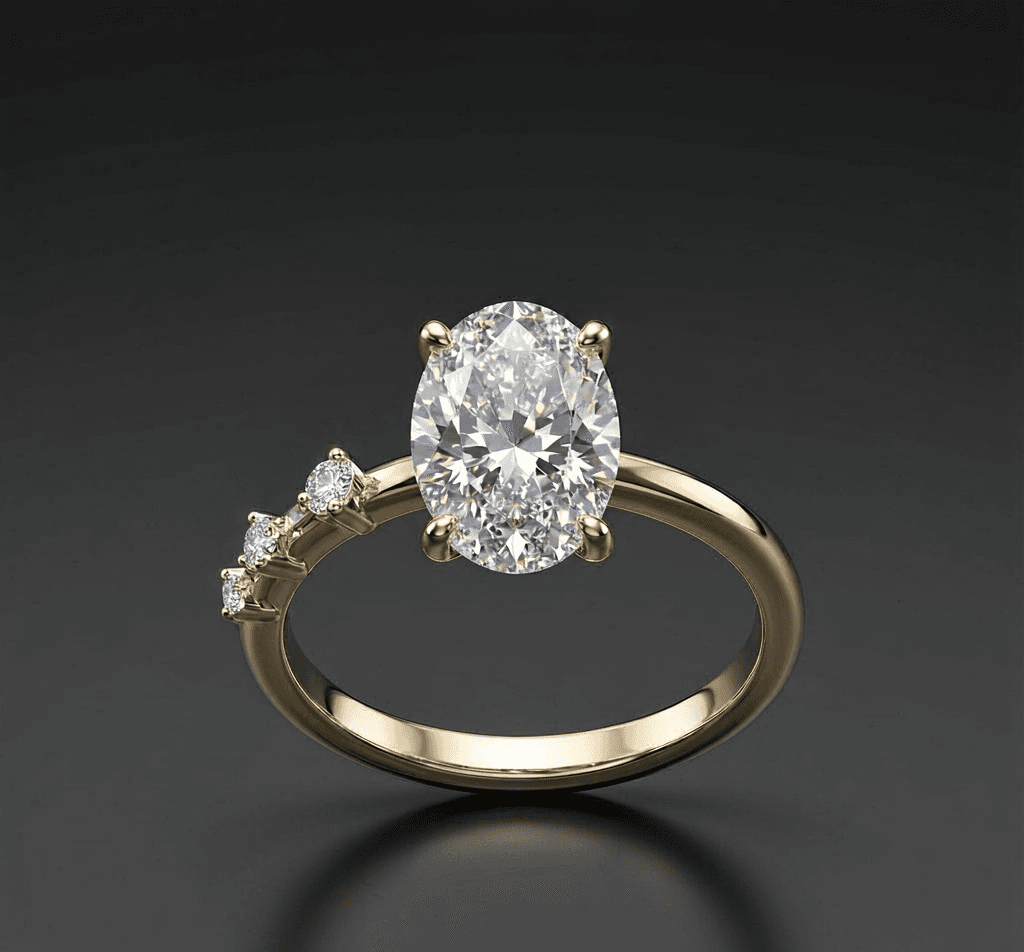
The reference was a worn photo of an oval diamond ring, and a flat image carries no millimetres — basket height and seat depth were guesswork. We rebuilt the setting around the customer's 2ct oval, raised a low clean basket so the companion band sits flush beneath it, and matched the four shoulder stones to an even height, then the customer approved the CAD before any metal was cast.
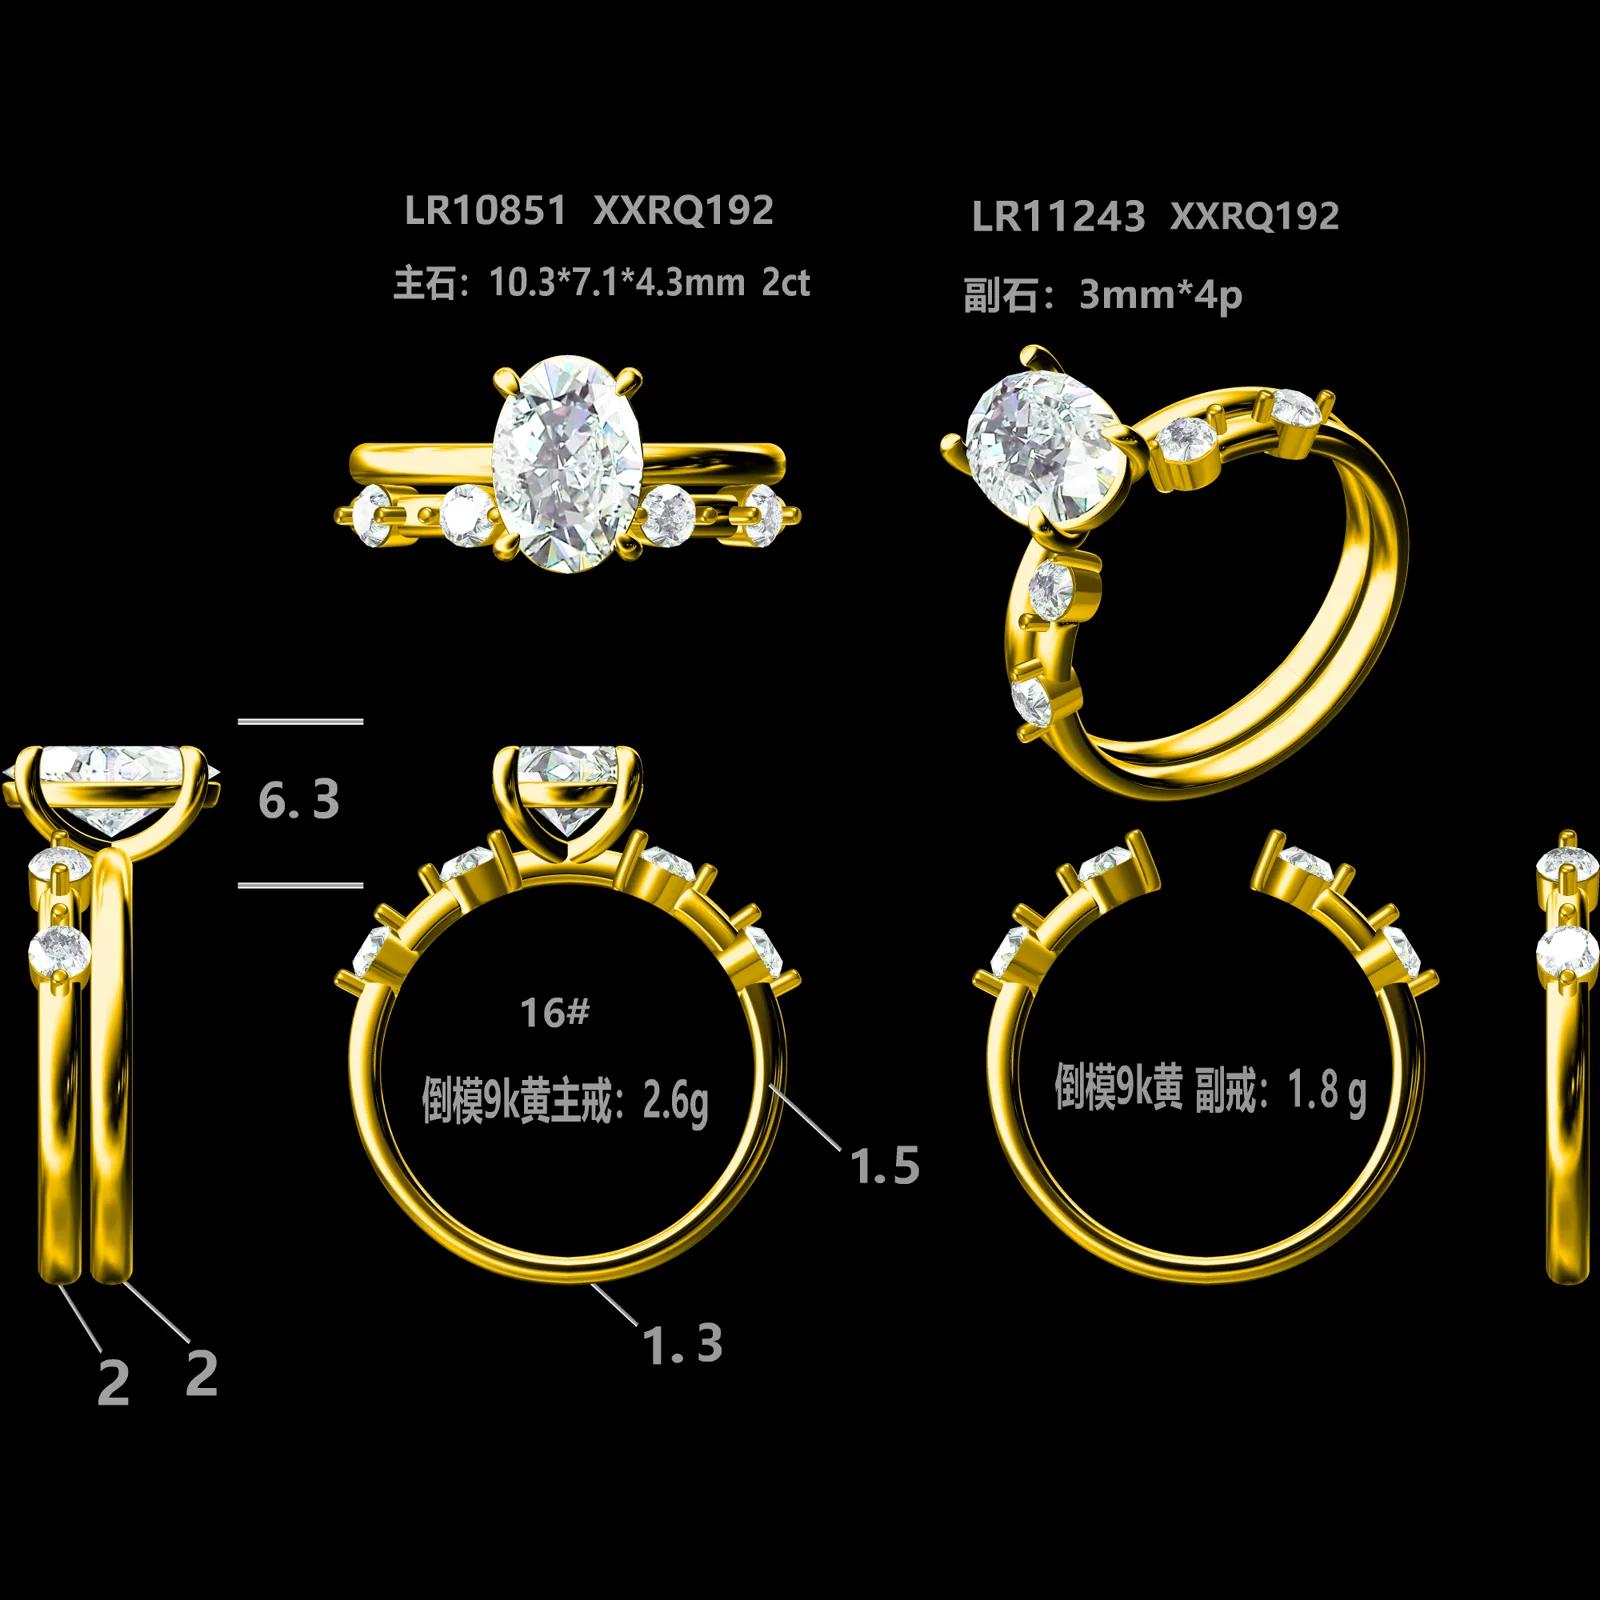
3 · CAD development
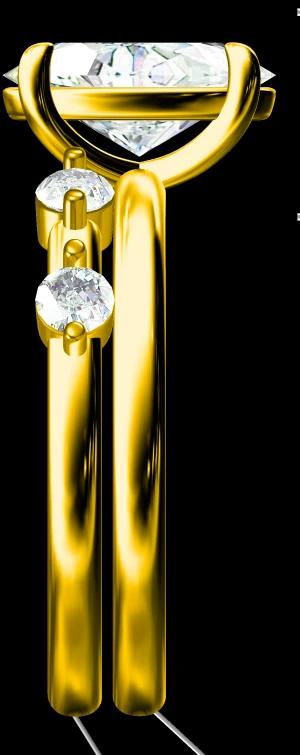
The design was rebuilt as a manufacturable 3D model — revisions stayed in CAD where they belong (2 versions: CASE-002-CAD-FRONT.webp, CASE-002-CAD-SIDE.webp). Every view the customer approved came from this model, not from a mood image.
4 · Production
Approved model to printed pattern, lost-wax cast, sprue cut, bench assembly, setting and polishing — the same six stations any project passes through, logged on this piece's private tracking link as it moved.
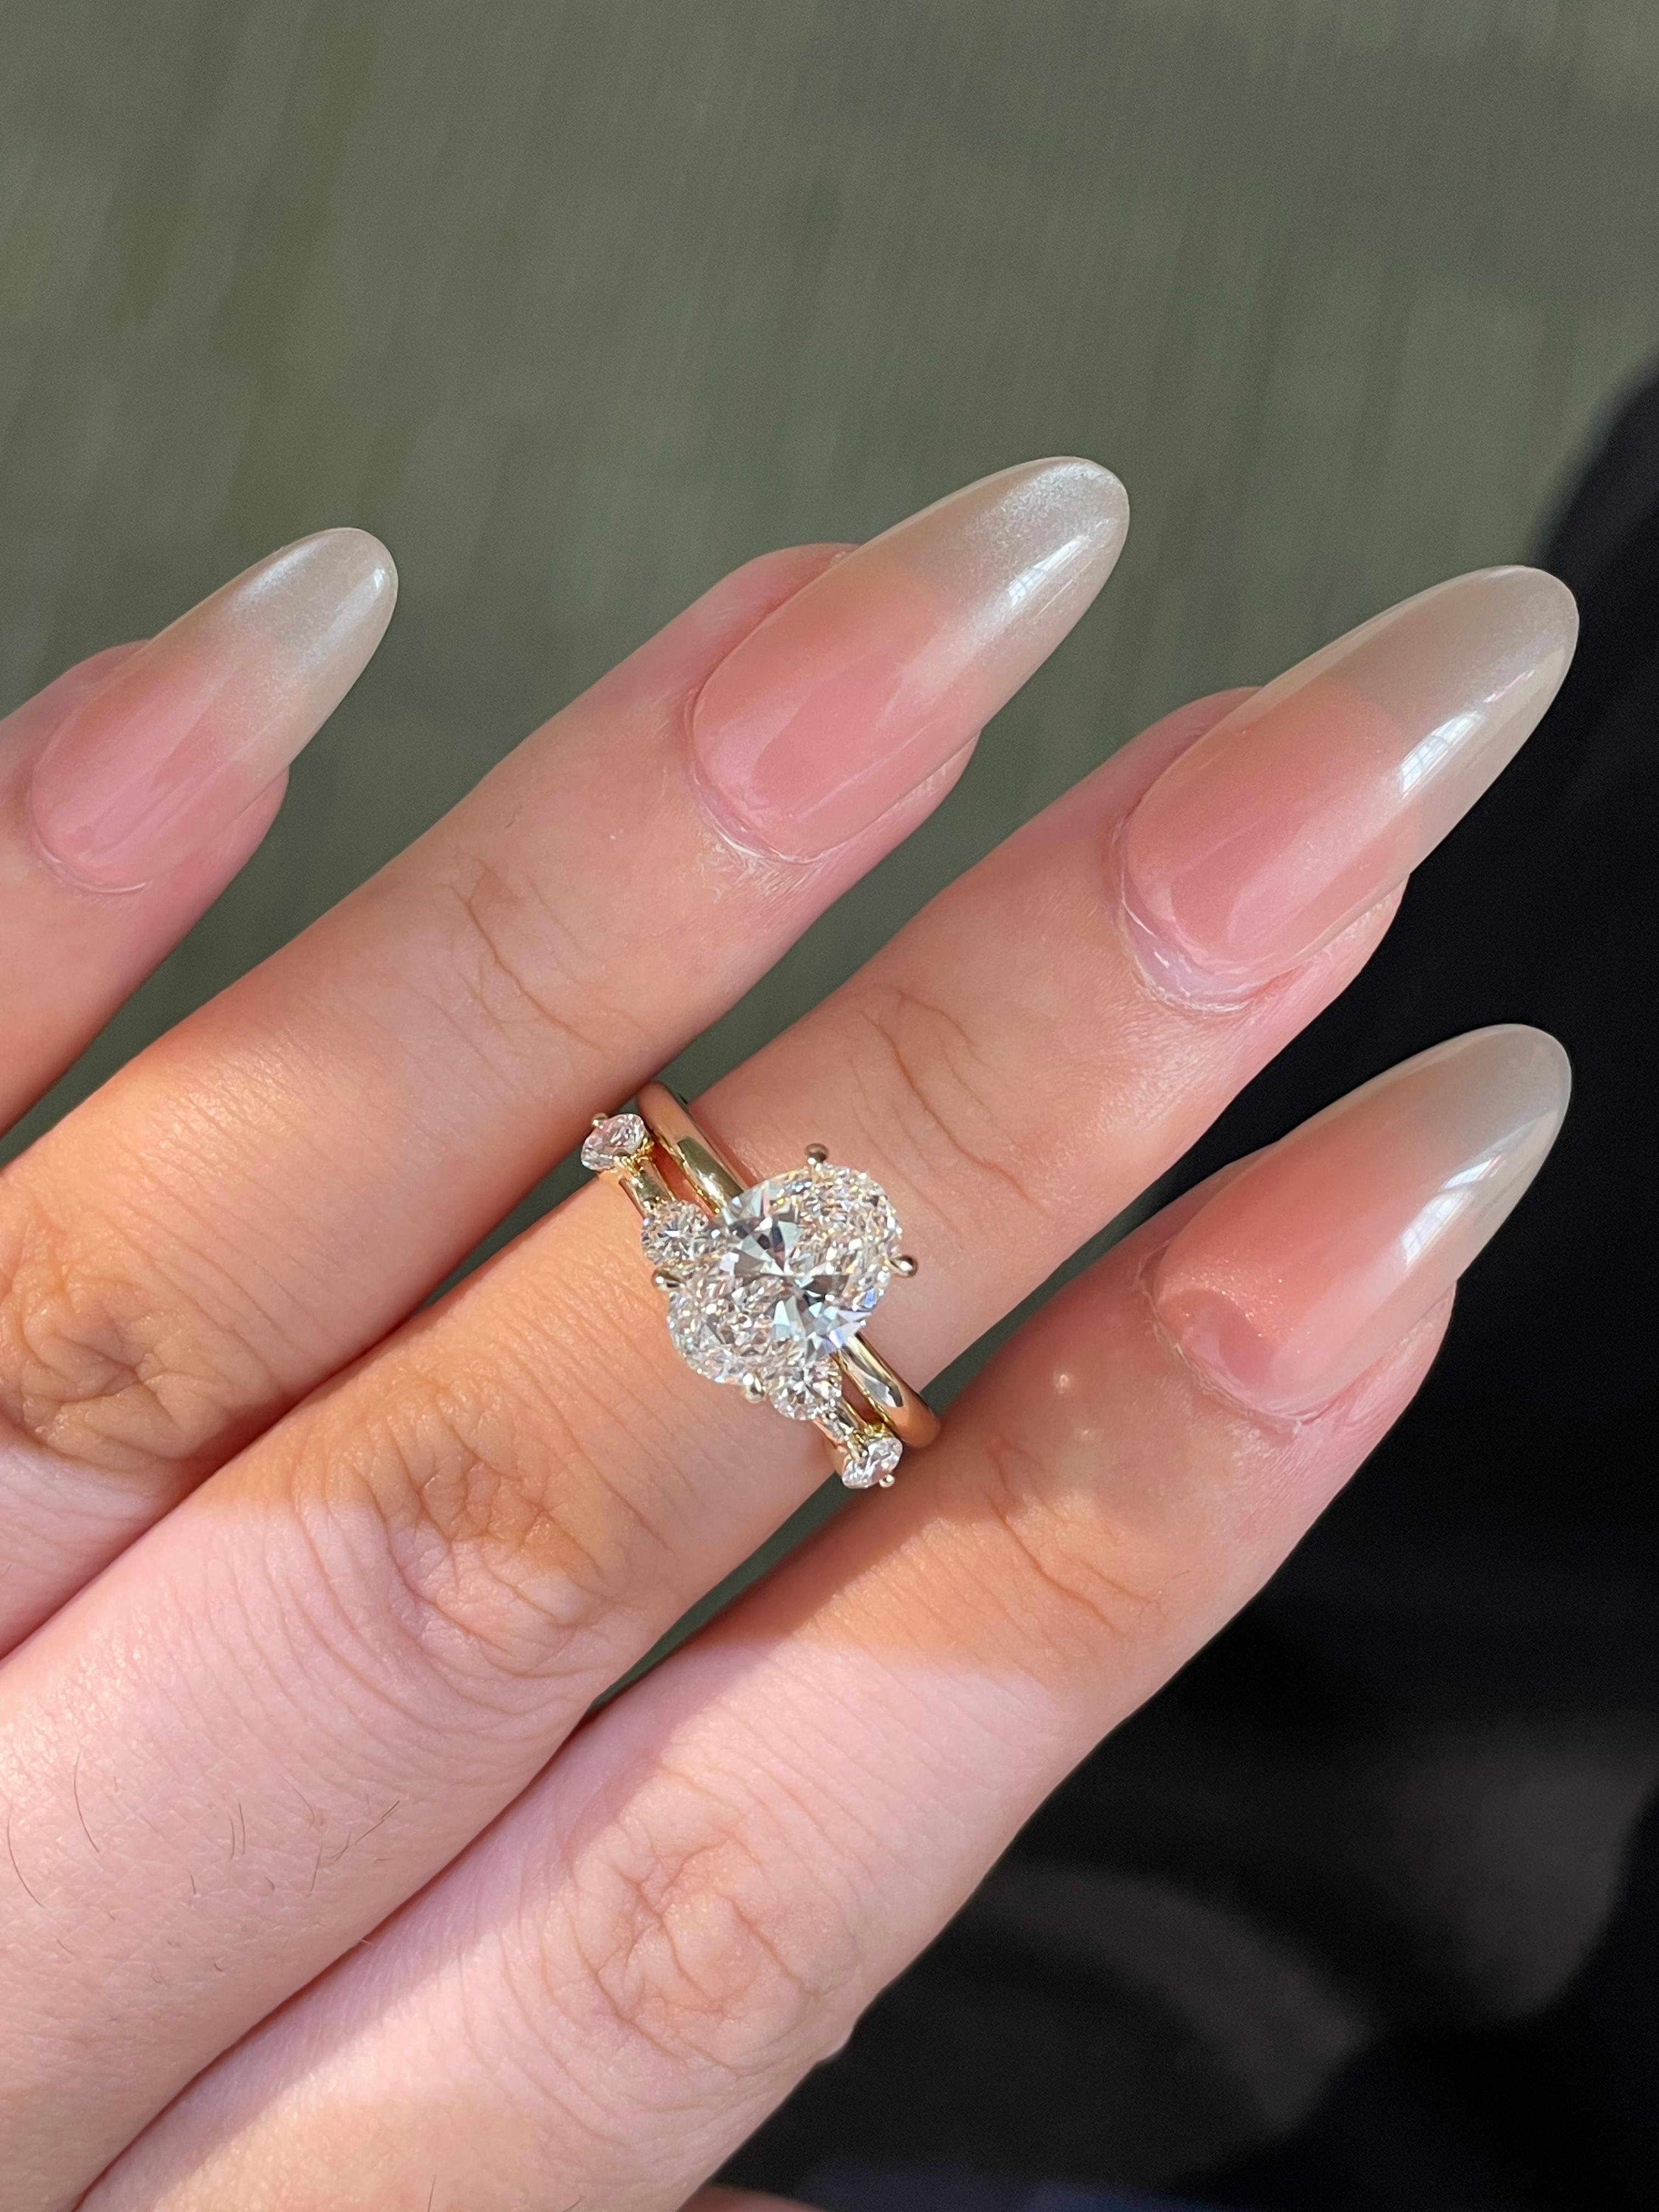
5 · The finished piece
Photographed at final QC before packing — file CASE-002-FINAL-WORN.jpg. These are the photos that go to the customer first, before any box closes.
6 · Idea vs. reality, side by side
The last row of every case is the honest one: original input next to finished metal. Sometimes the difference is engineering you should never see; sometimes it is a change the customer asked for once they saw the CAD. Both are part of the record.
More from the production record
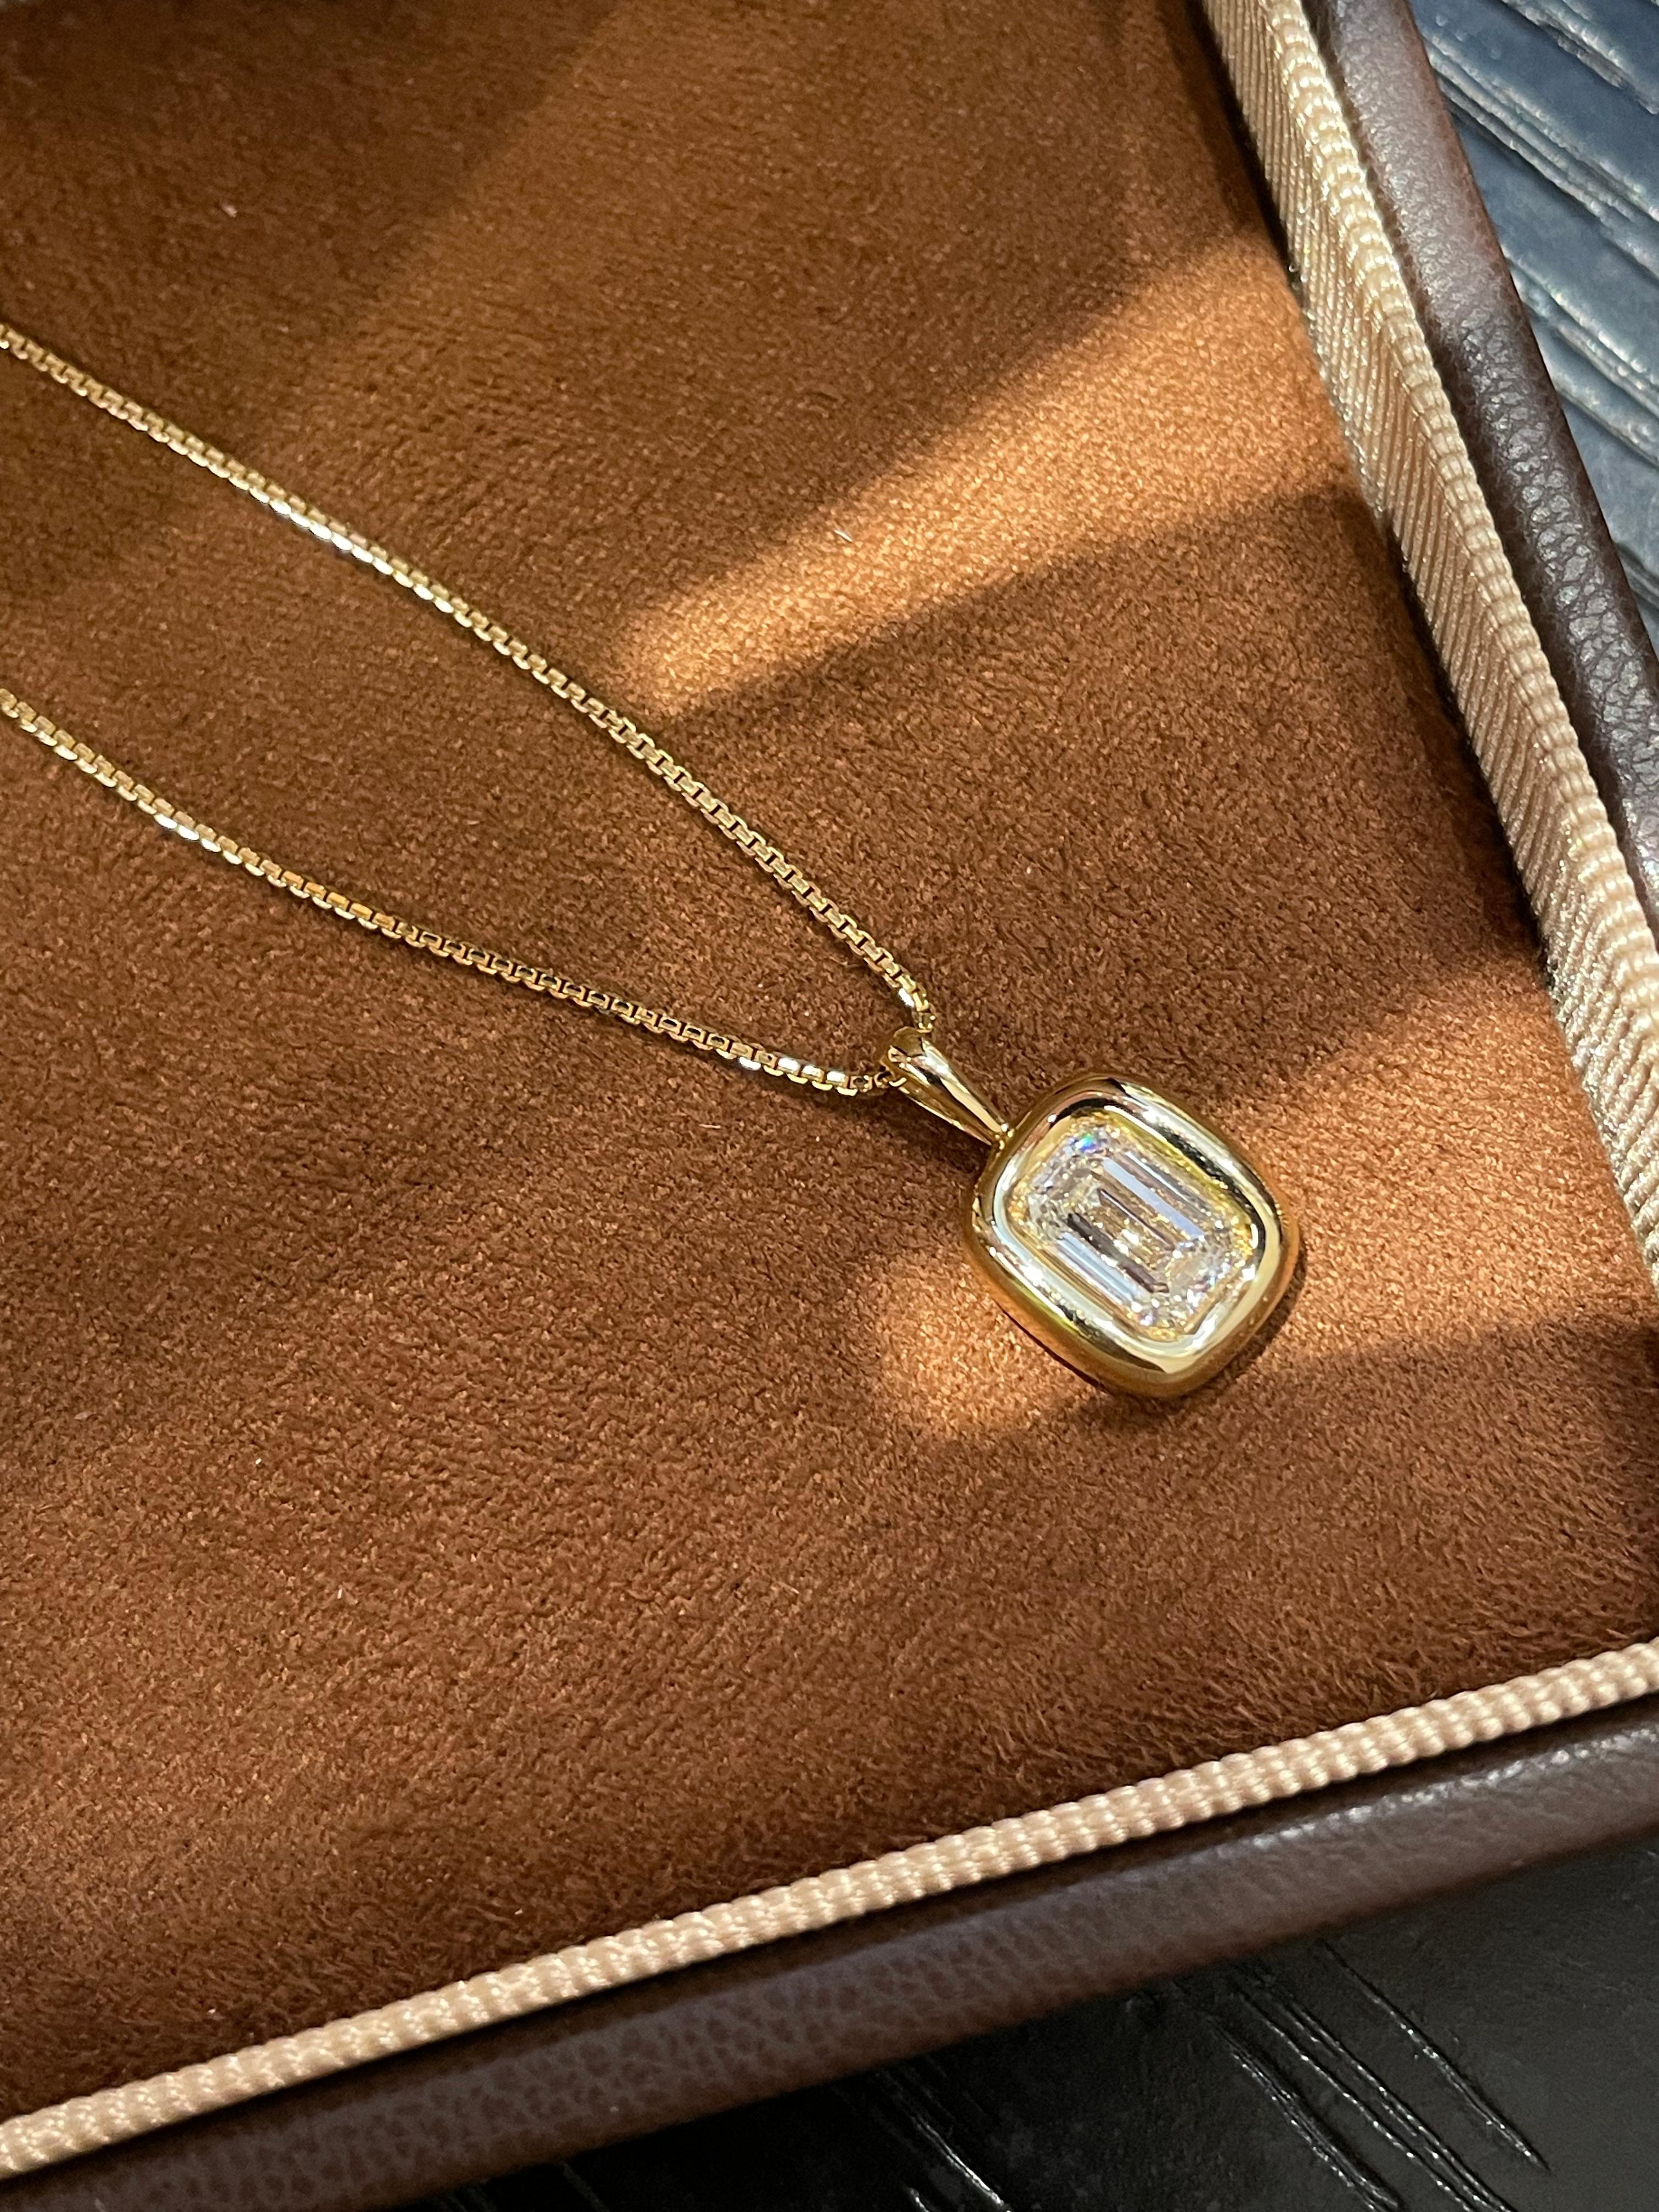
AI concept: a ChatGPT bezel-pendant image to a castable step-cut pendant
1 · The original idea
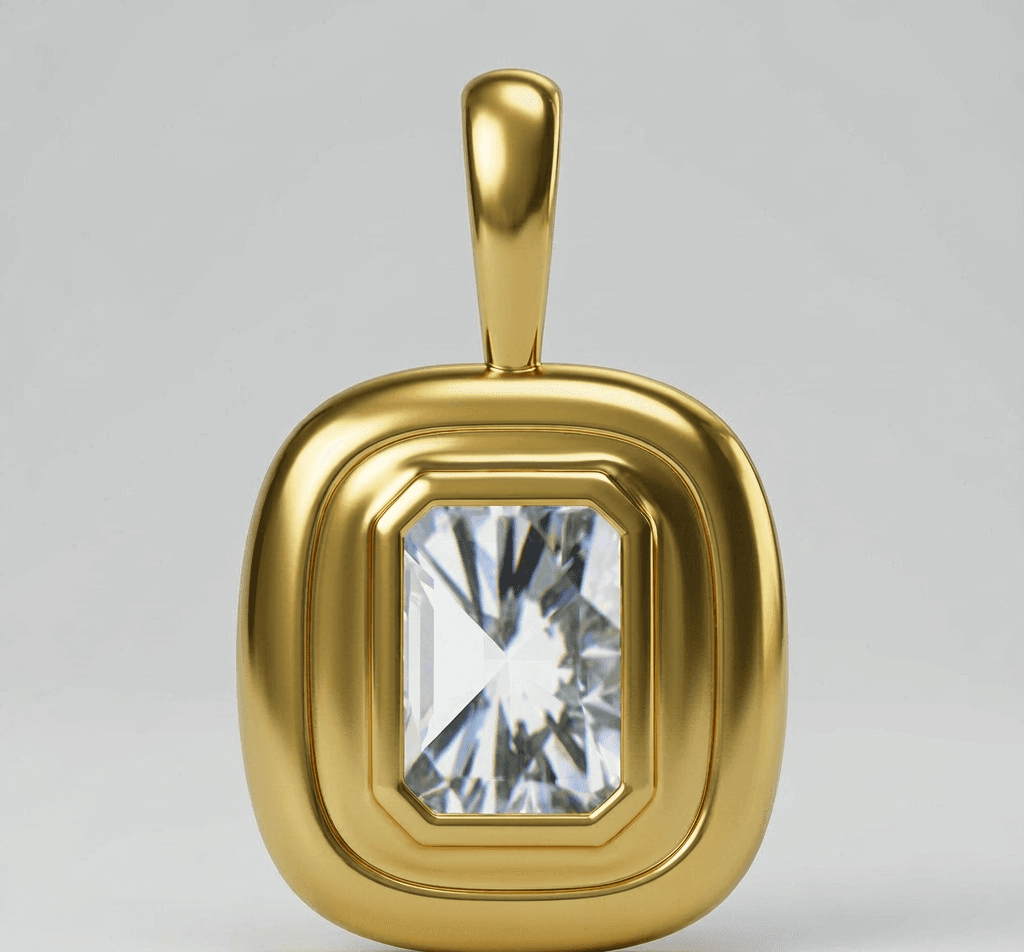
What the customer sent us: a AI-generated image — file CASE-003-AI-BEZEL-PENDANT.png. Not a brief, not a tech pack: the raw starting material, shown exactly as received.
2 · The manufacturing challenge
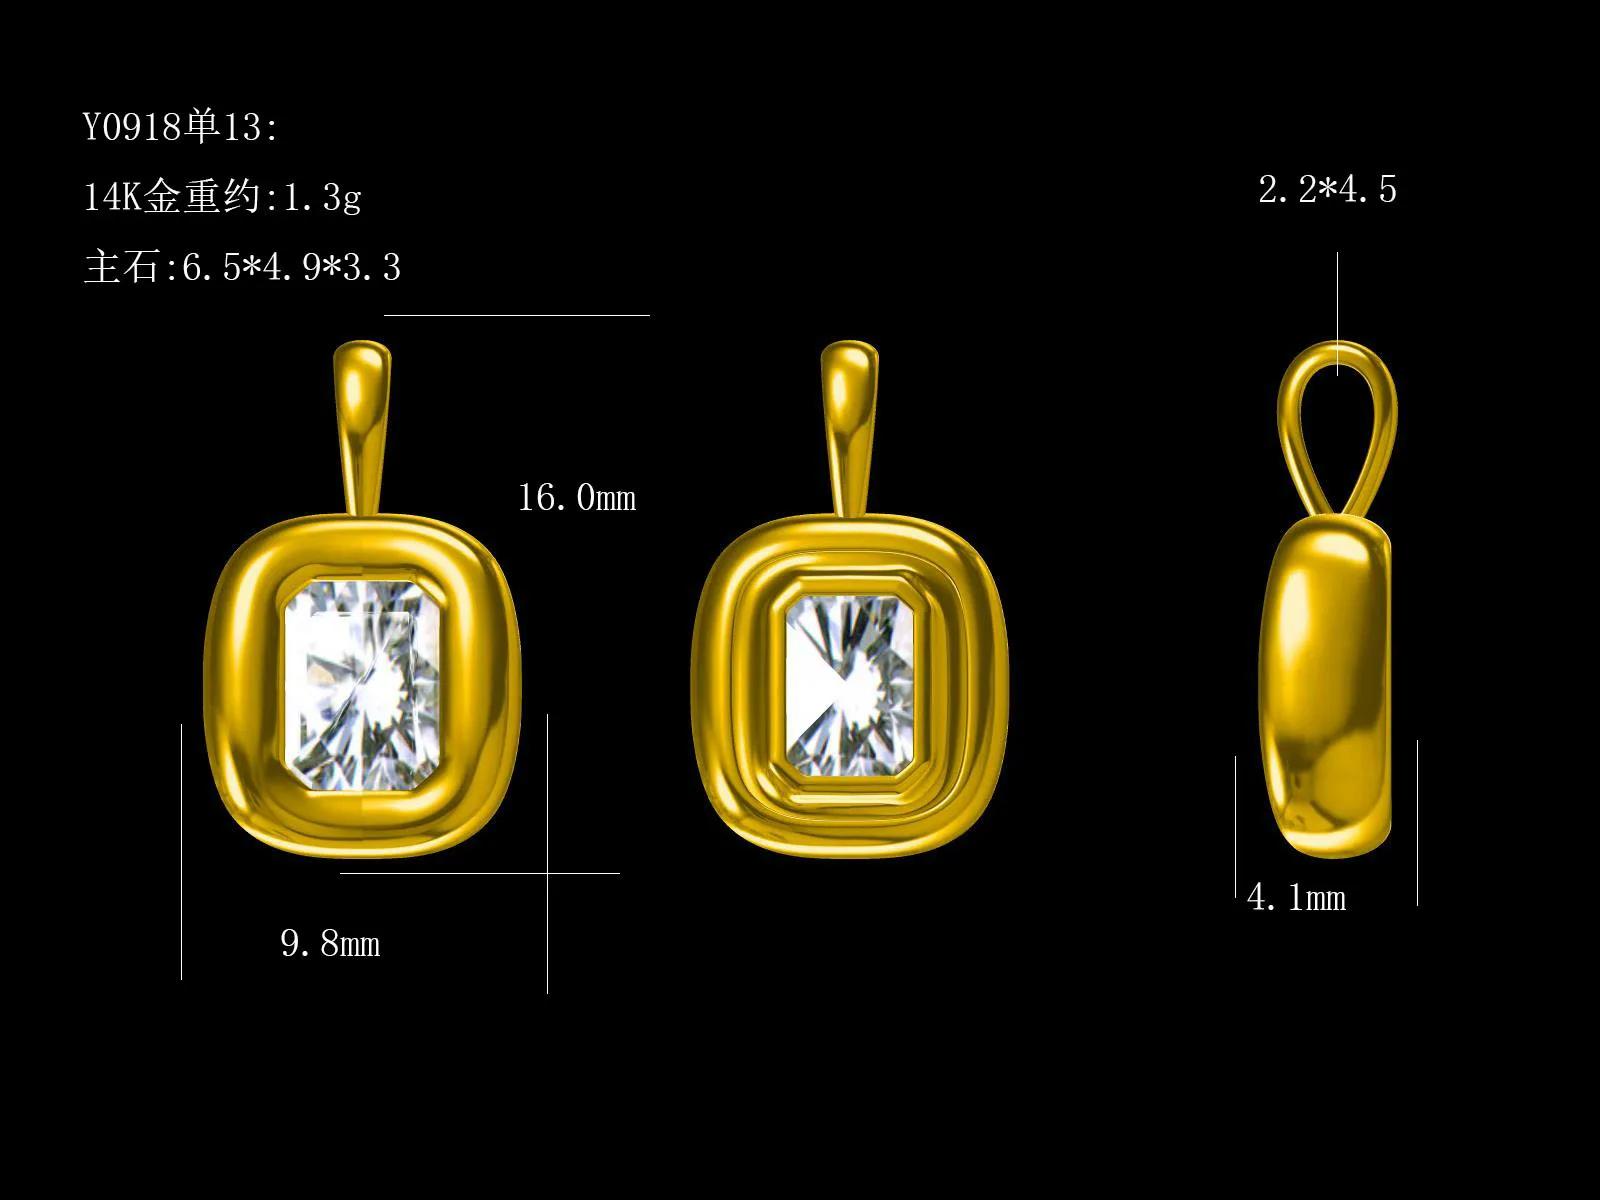
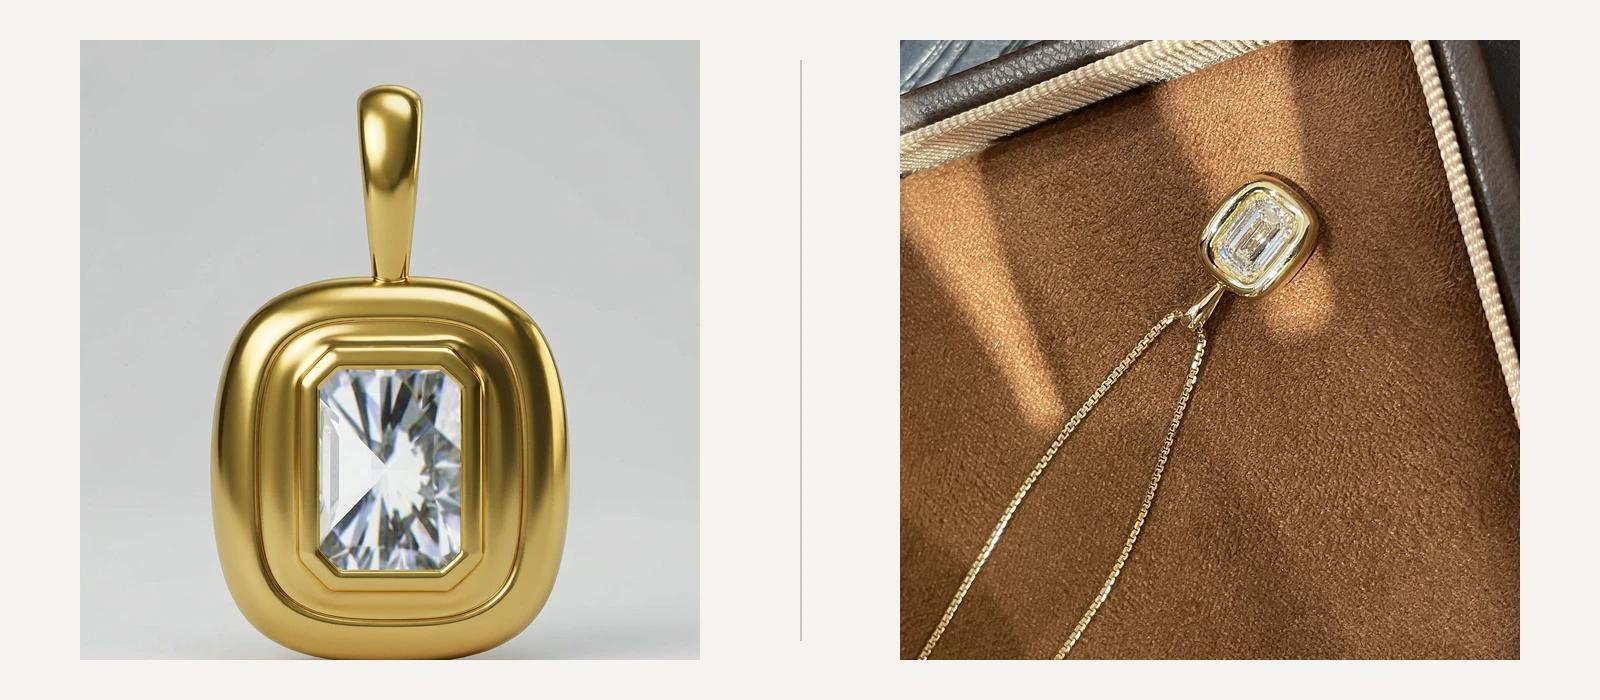
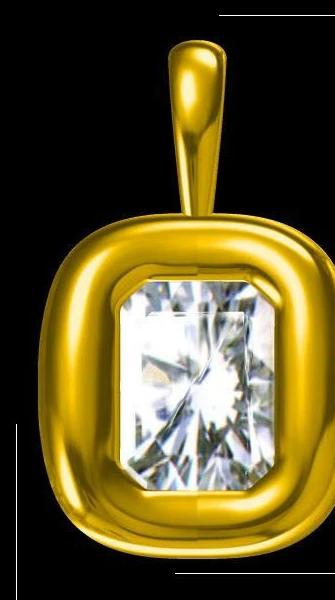
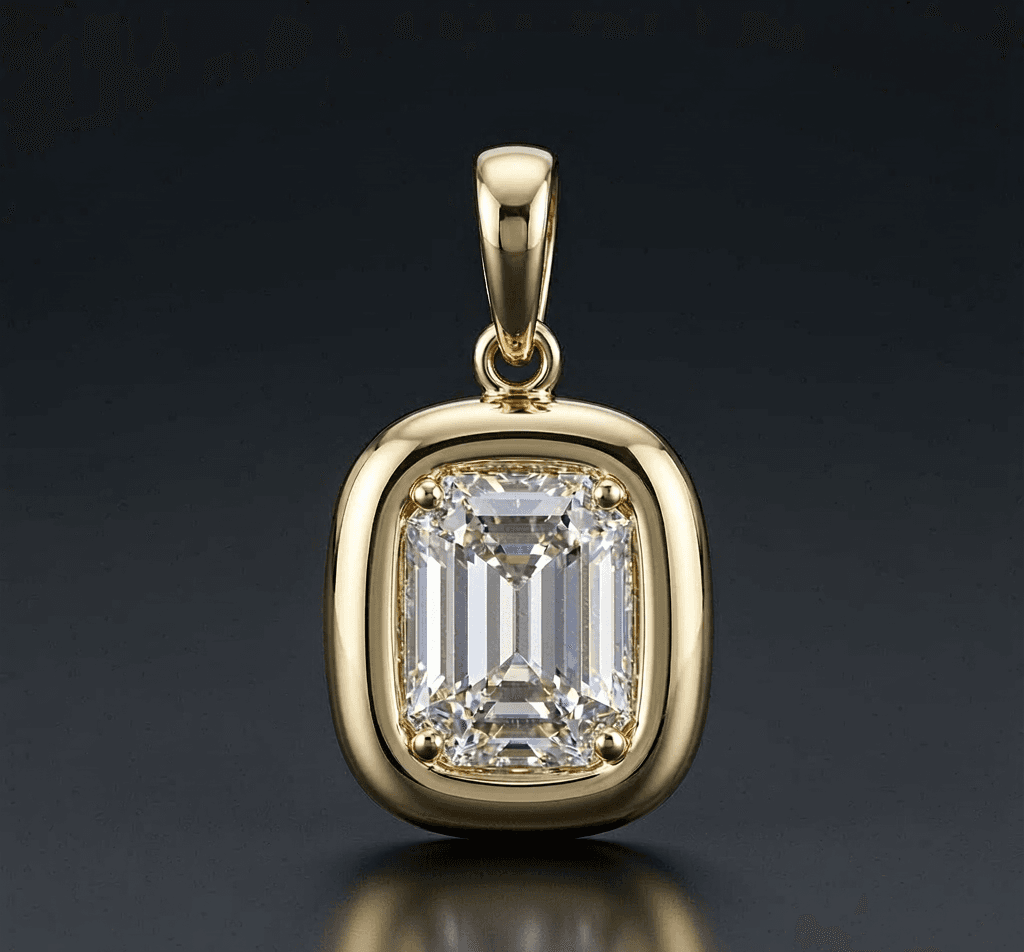
The AI render showed a heavy rounded bezel that would swallow a step-cut stone, and a bail fused into the top rail. We thinned the bezel to a clean semi-bezel that lets light into the stone's corners, opened the back so it hangs light instead of as a solid gold drop, and rebuilt the bail as its own loop that keeps the pendant square on the chain, then re-approved the modified CAD (v2) before wax carving.
3 · CAD development
The design was rebuilt as a manufacturable 3D model — revisions stayed in CAD where they belong (2 versions: CASE-003-CAD-FRONT.webp, CASE-003-CAD-V2-FRONT.webp). Every view the customer approved came from this model, not from a mood image.
4 · Production
Approved model to printed pattern, lost-wax cast, sprue cut, bench assembly, setting and polishing — the same six stations any project passes through, logged on this piece's private tracking link as it moved.
5 · The finished piece
Photographed at final QC before packing — file CASE-003-FINAL-PRODUCT.jpg. These are the photos that go to the customer first, before any box closes.
6 · Idea vs. reality, side by side
The last row of every case is the honest one: original input next to finished metal. Sometimes the difference is engineering you should never see; sometimes it is a change the customer asked for once they saw the CAD. Both are part of the record.
More from the production record
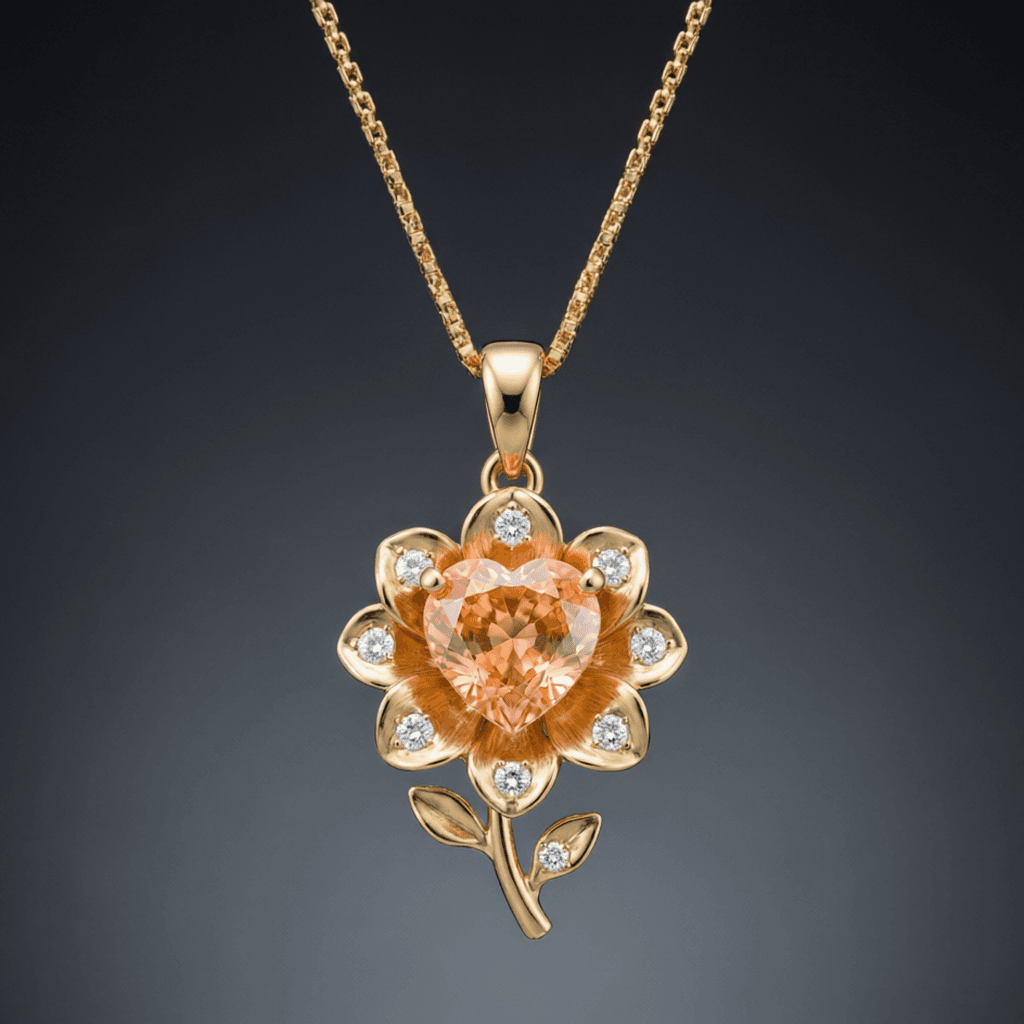
Heirloom remake: a worn photo to a new 18K heart-flower pendant necklace
1 · The original idea
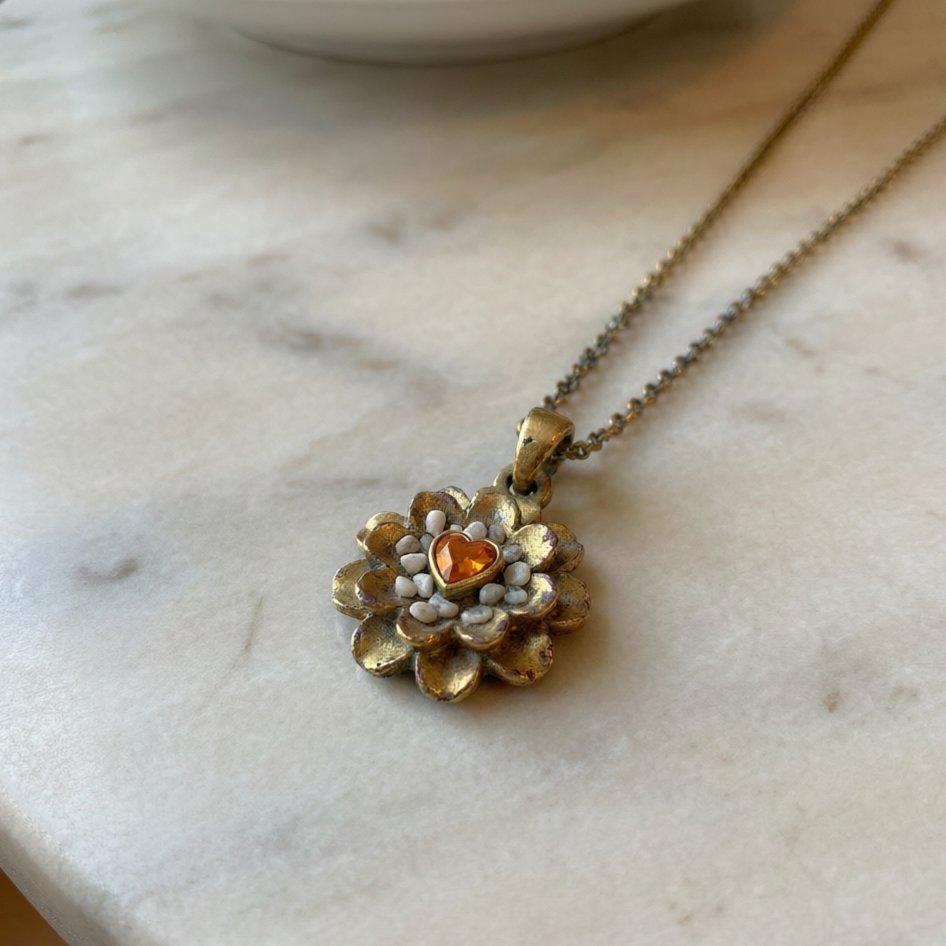
What the customer sent us: a reference photo — file CASE-004-REFERENCE-NECKLACE.jpg. Not a brief, not a tech pack: the raw starting material, shown exactly as received.
2 · The manufacturing challenge
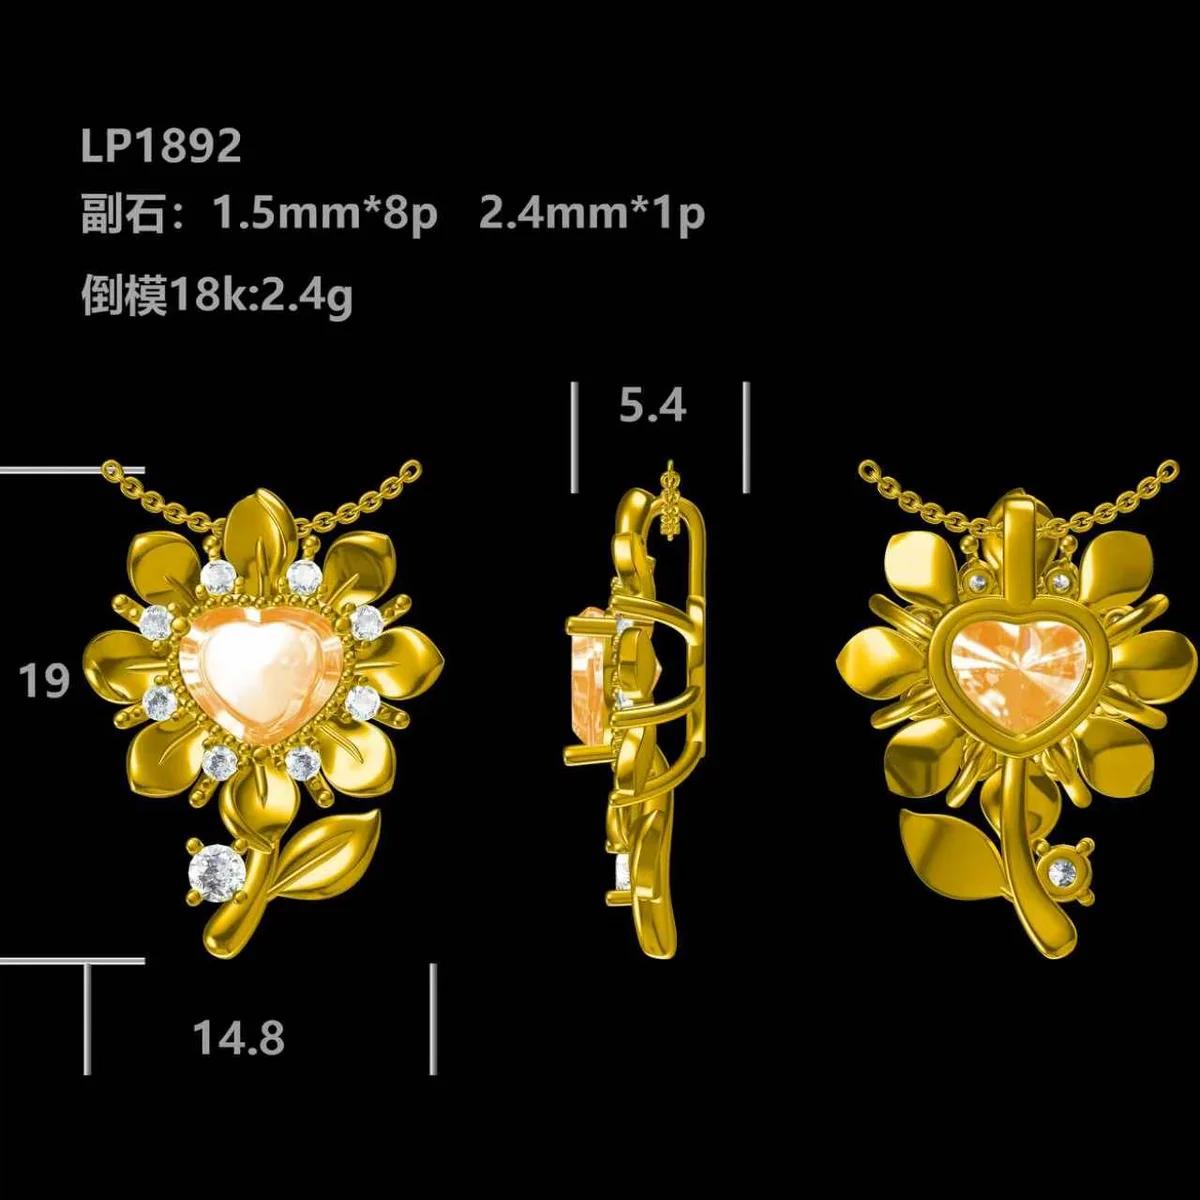
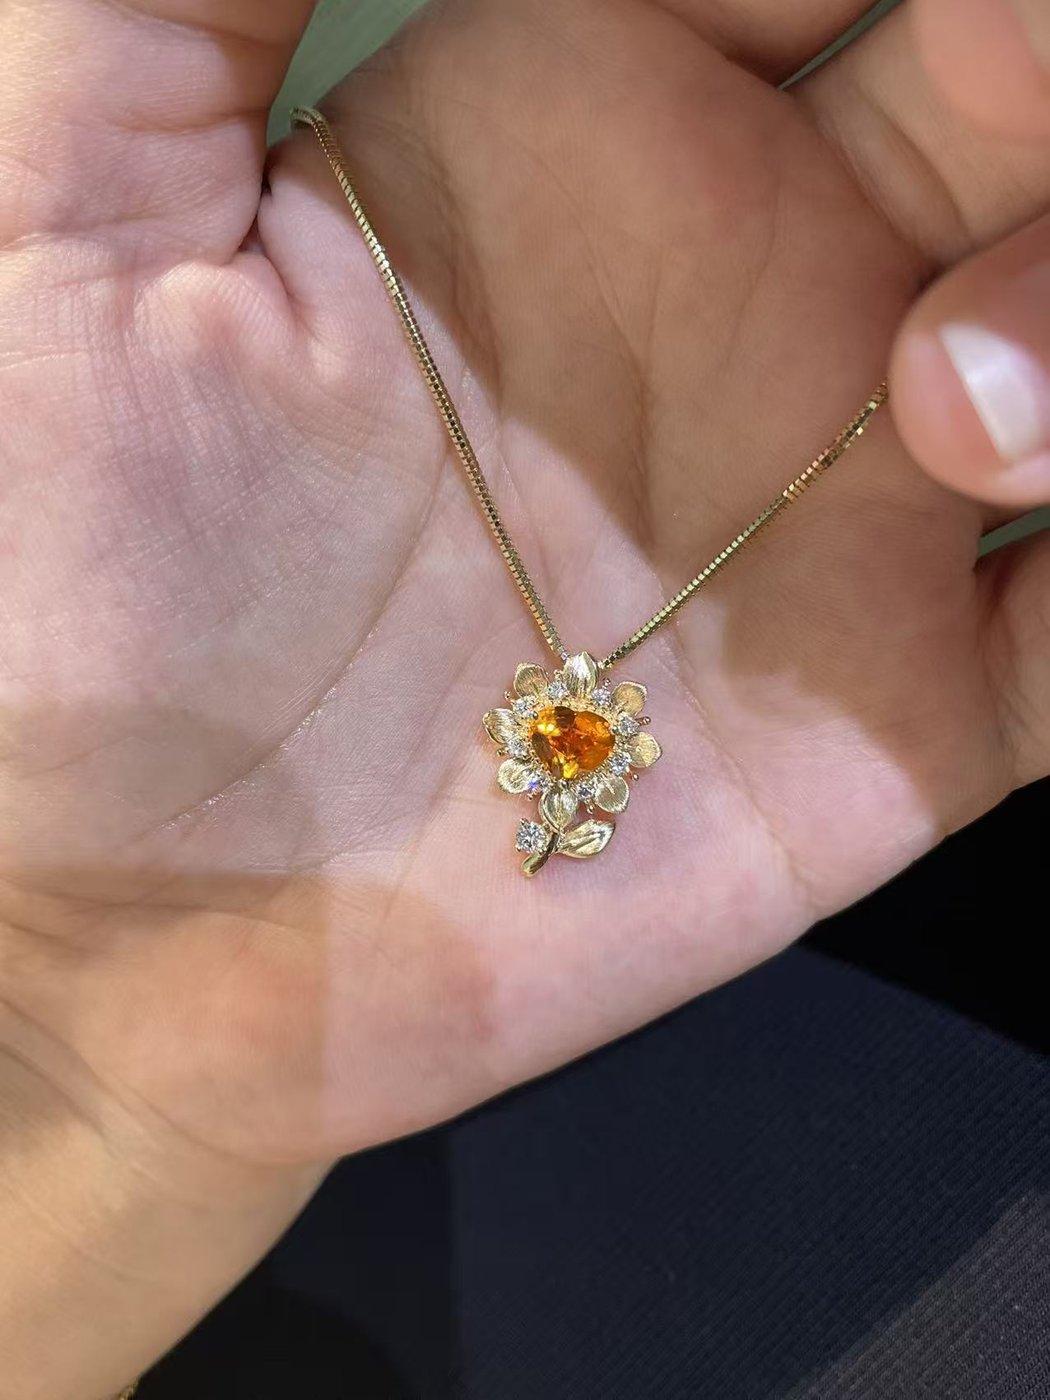
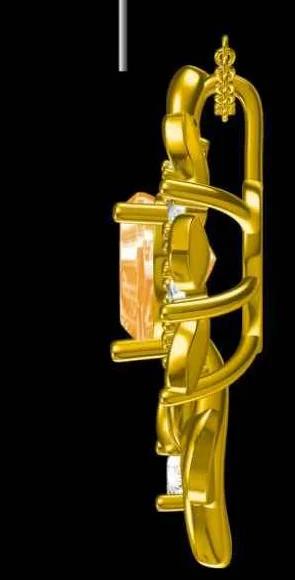
The only reference was a worn photo of a flower pendant whose chain had snapped and whose centre stone sat loose in a scratched bezel. We rebuilt it in 18K yellow gold — a heart-cut centre held in a raised bezel, eight brilliants set to an even height as petals and a leaf-and-stem below — and lightened the bail so the pendant hangs square on the box chain instead of tilting, then the customer approved chain and setting in CAD before casting.
3 · CAD development
The design was rebuilt as a manufacturable 3D model — revisions stayed in CAD where they belong (2 versions: CASE-004-CAD-FRONT.webp, CASE-004-CAD-SIDE.webp). Every view the customer approved came from this model, not from a mood image.
4 · Production
Approved model to printed pattern, lost-wax cast, sprue cut, bench assembly, setting and polishing — the same six stations any project passes through, logged on this piece's private tracking link as it moved.
5 · The finished piece
Photographed at final QC before packing — file CASE-004-FINAL-NECKLACE.jpg. These are the photos that go to the customer first, before any box closes.
6 · Idea vs. reality, side by side
The last row of every case is the honest one: original input next to finished metal. Sometimes the difference is engineering you should never see; sometimes it is a change the customer asked for once they saw the CAD. Both are part of the record.
More from the production record
Matched pair: hand sketch to a mirrored drop-earring set
1 · The original idea
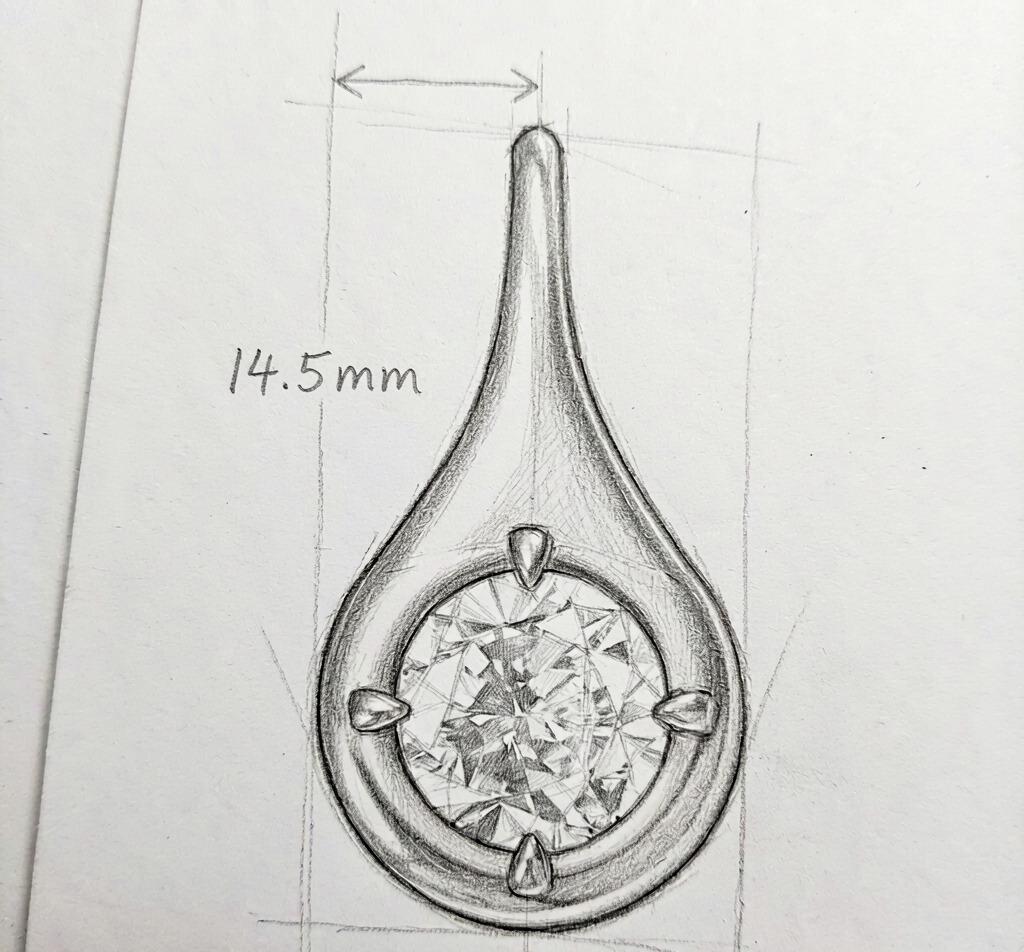
What the customer sent us: a hand sketch — file CASE-005-SKETCH-ORIGINAL.jpg. Not a brief, not a tech pack: the raw starting material, shown exactly as received.
2 · The manufacturing challenge
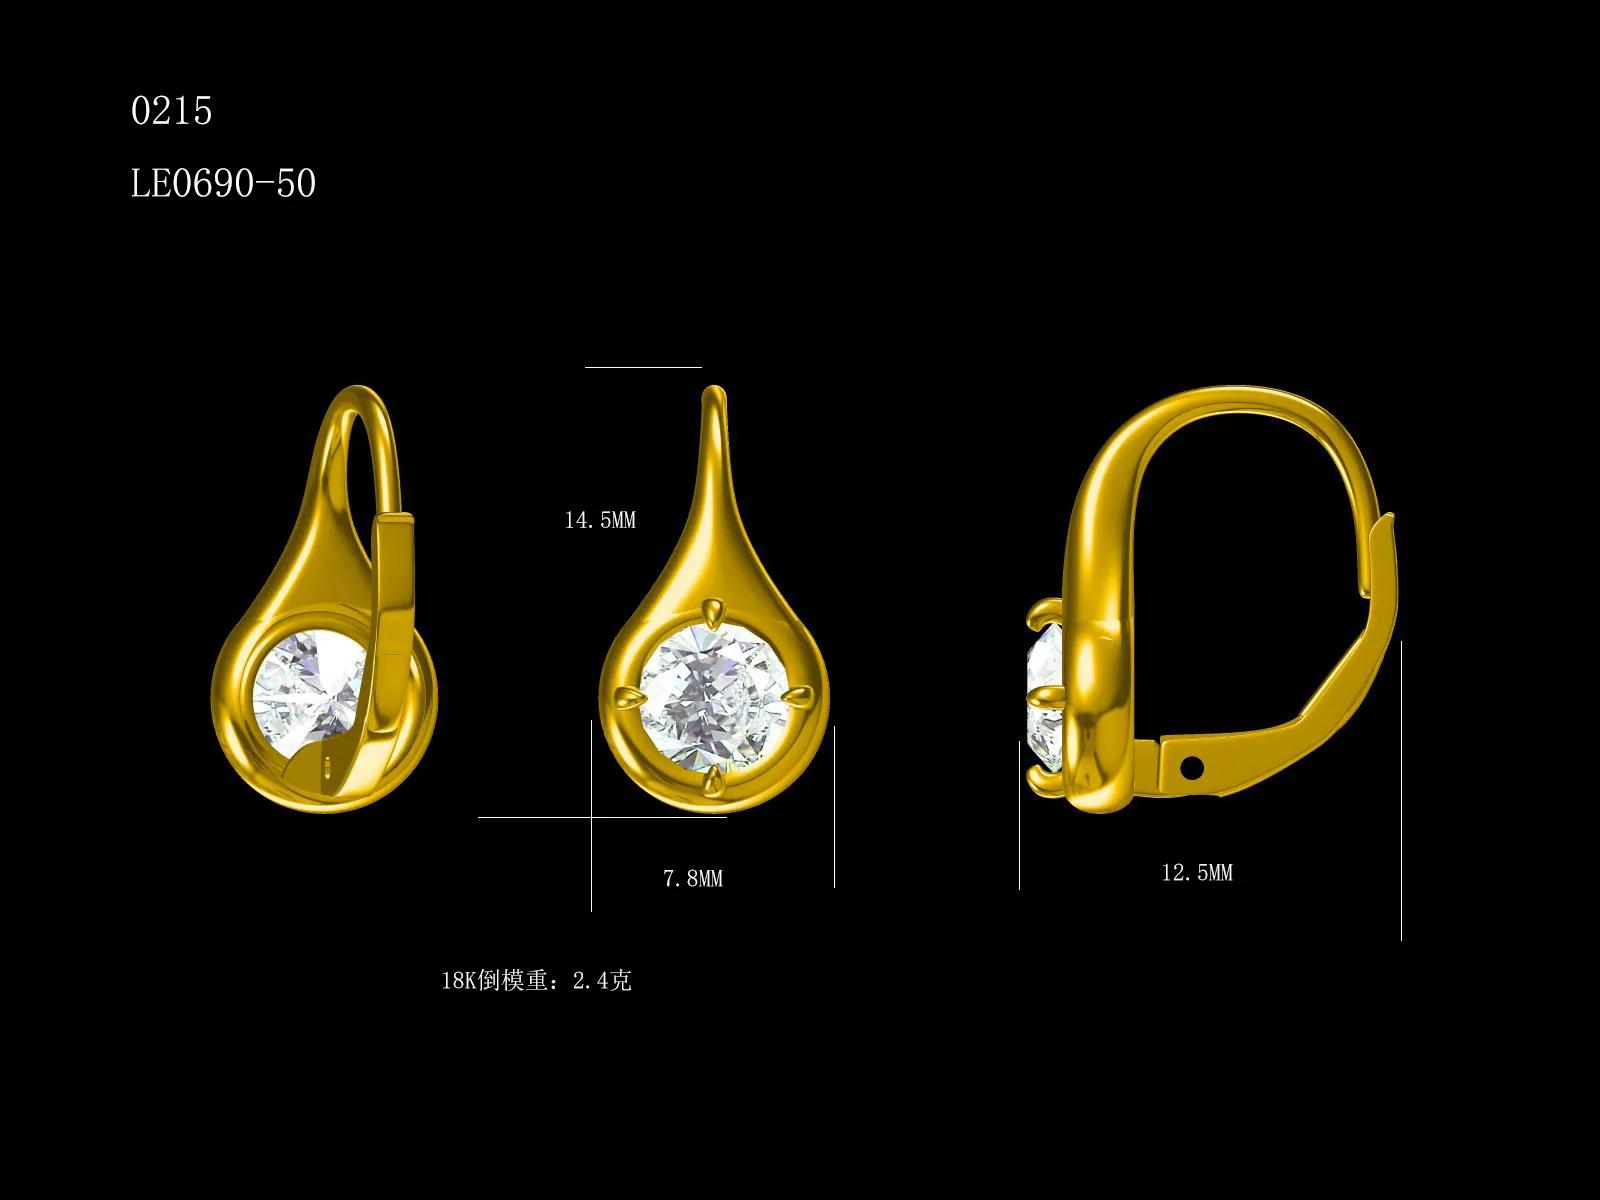
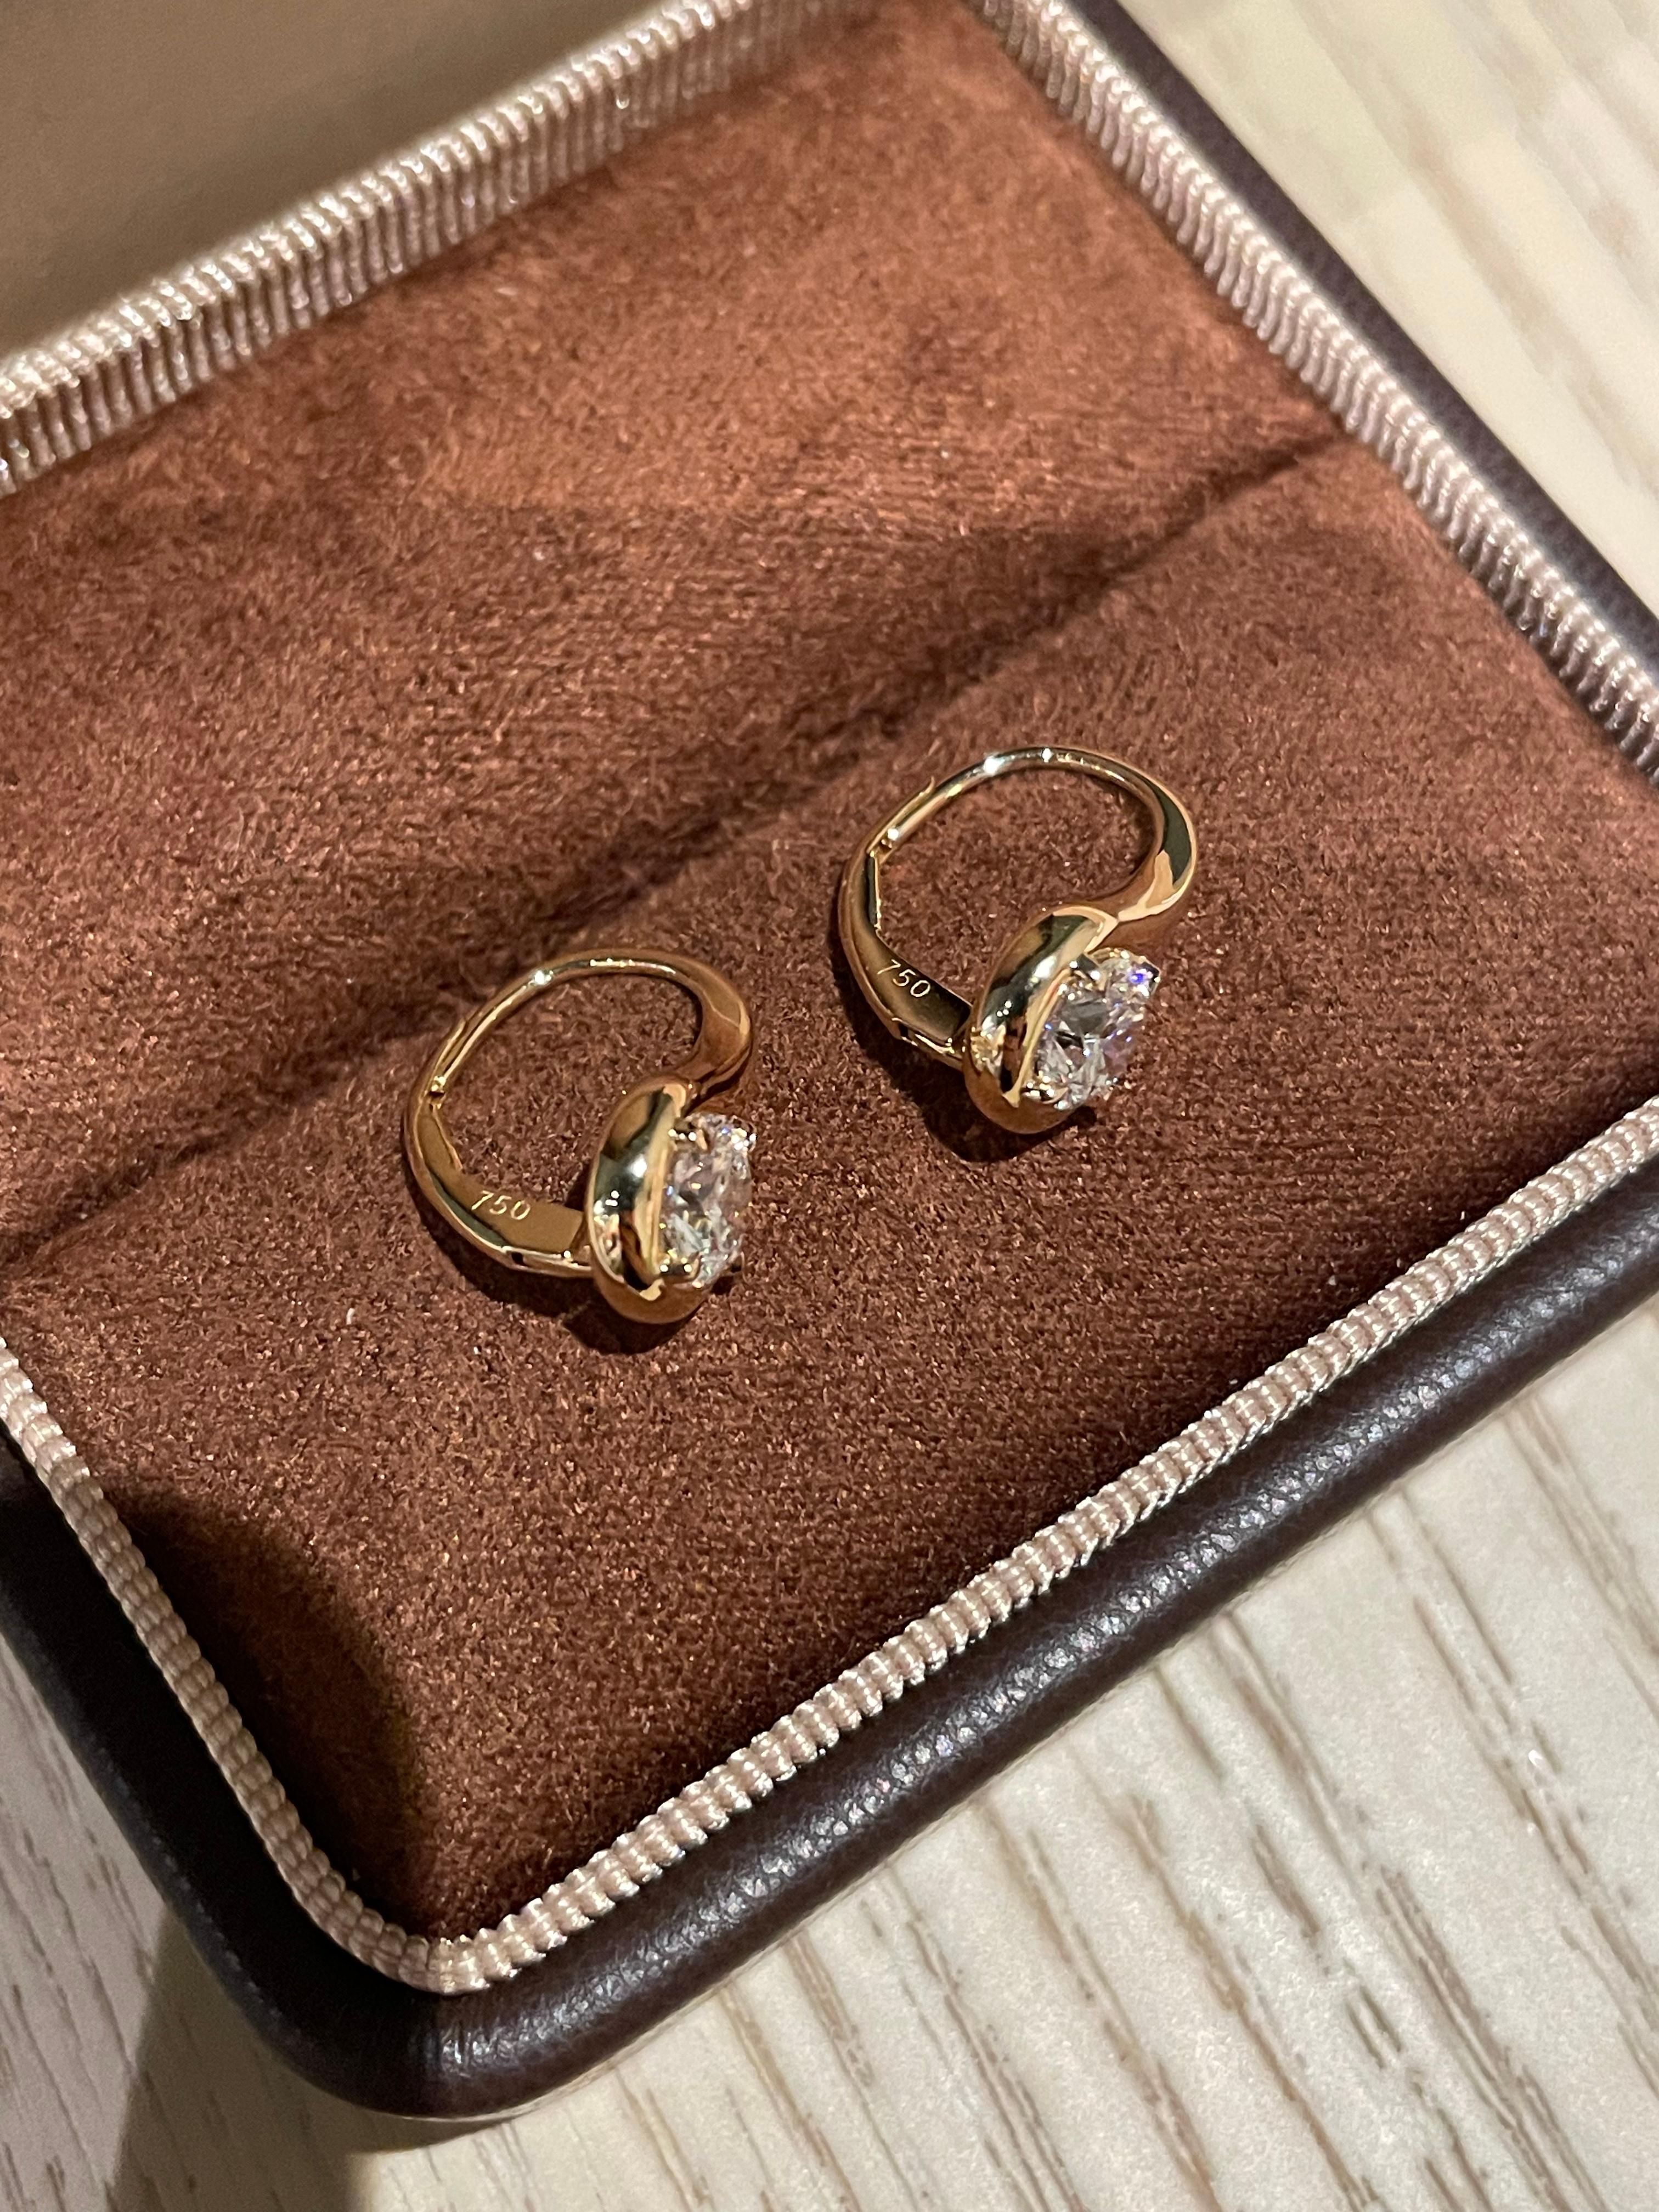
The customer sketched a single earring, but a pair has to mirror exactly and hang level. We modelled one drop, mirrored it about the post axis, and moved the mass below the post so both earrings sit square on the ear instead of tilting forward once worn.
3 · CAD development
The design was rebuilt as a manufacturable 3D model — revisions stayed in CAD where they belong (2 versions: CASE-005-CAD-FRONT.webp, CASE-005-CAD-TOP.webp). Every view the customer approved came from this model, not from a mood image.
4 · Production
Approved model to printed pattern, lost-wax cast, sprue cut, bench assembly, setting and polishing — the same six stations any project passes through, logged on this piece's private tracking link as it moved.
5 · The finished piece
Photographed at final QC before packing — file CASE-005-FINAL-PAIRED.jpg. These are the photos that go to the customer first, before any box closes.
6 · Idea vs. reality, side by side
The last row of every case is the honest one: original input next to finished metal. Sometimes the difference is engineering you should never see; sometimes it is a change the customer asked for once they saw the CAD. Both are part of the record.
More from the production record
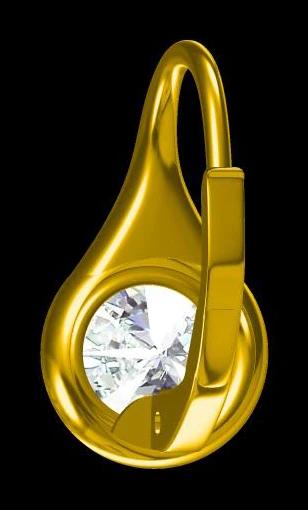
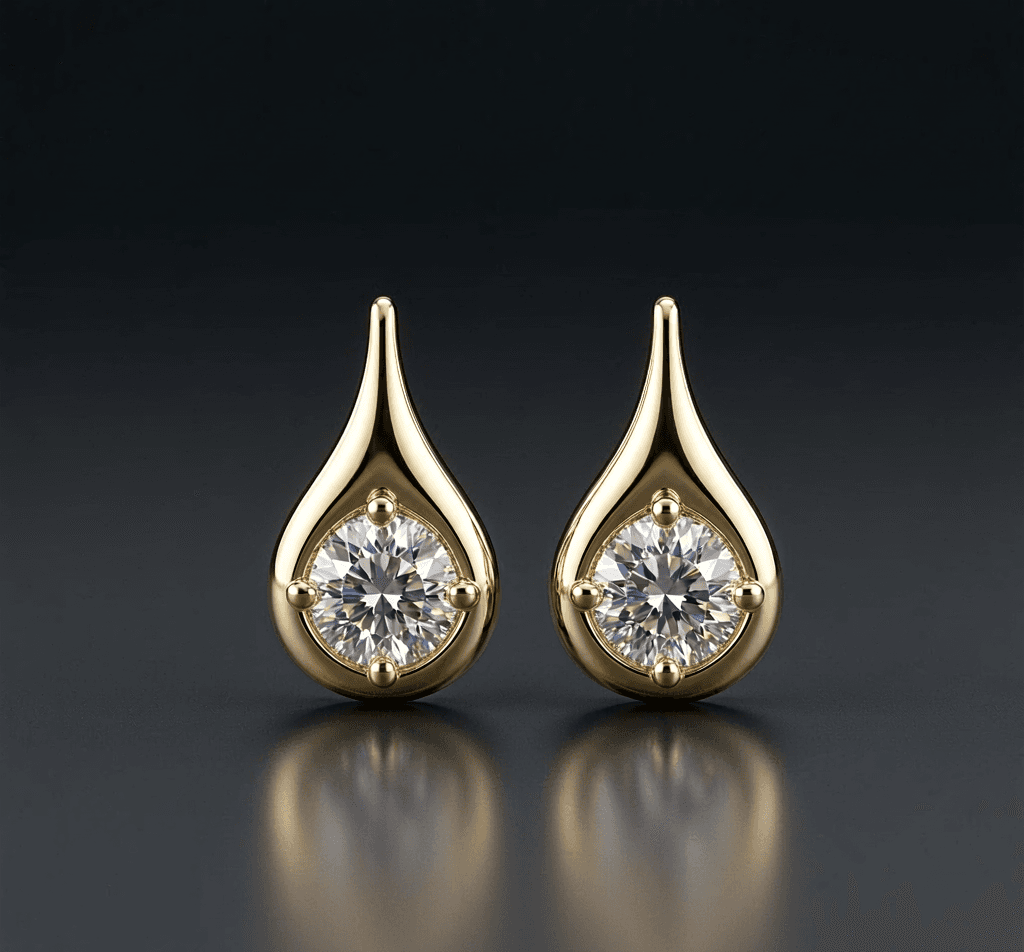
AI concept: a ChatGPT line-bracelet image to a castable two-tone tennis bracelet
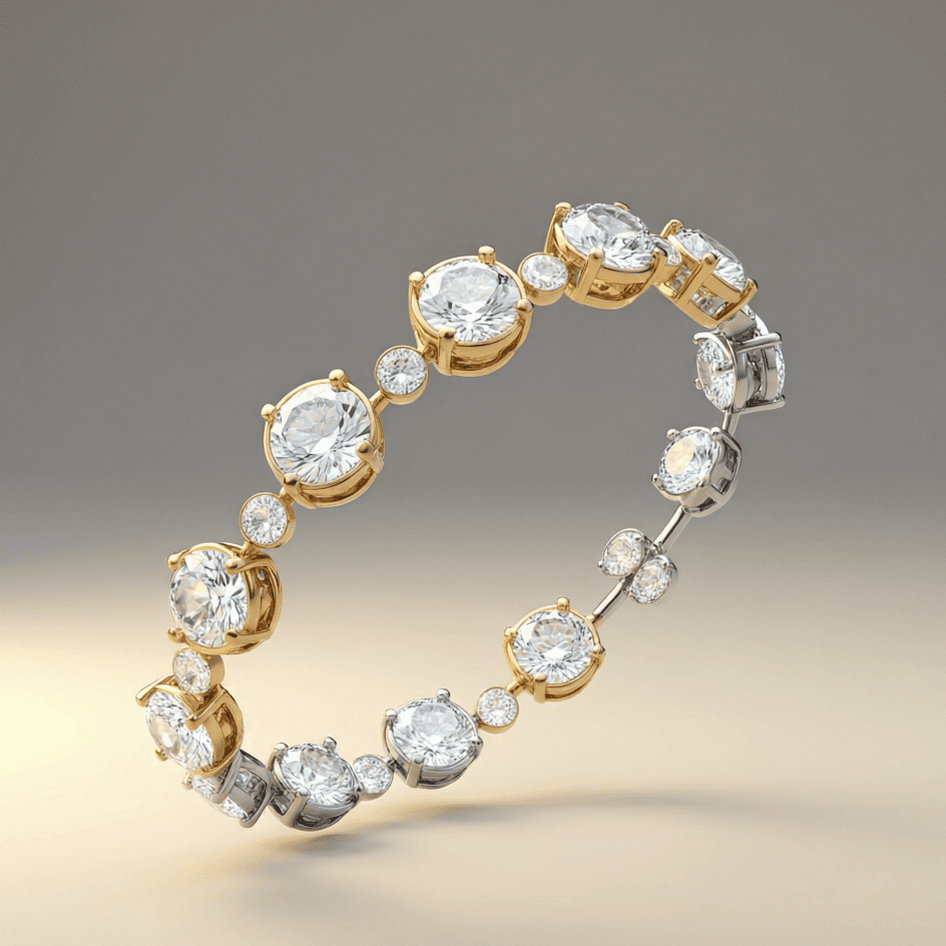
1 · The original idea
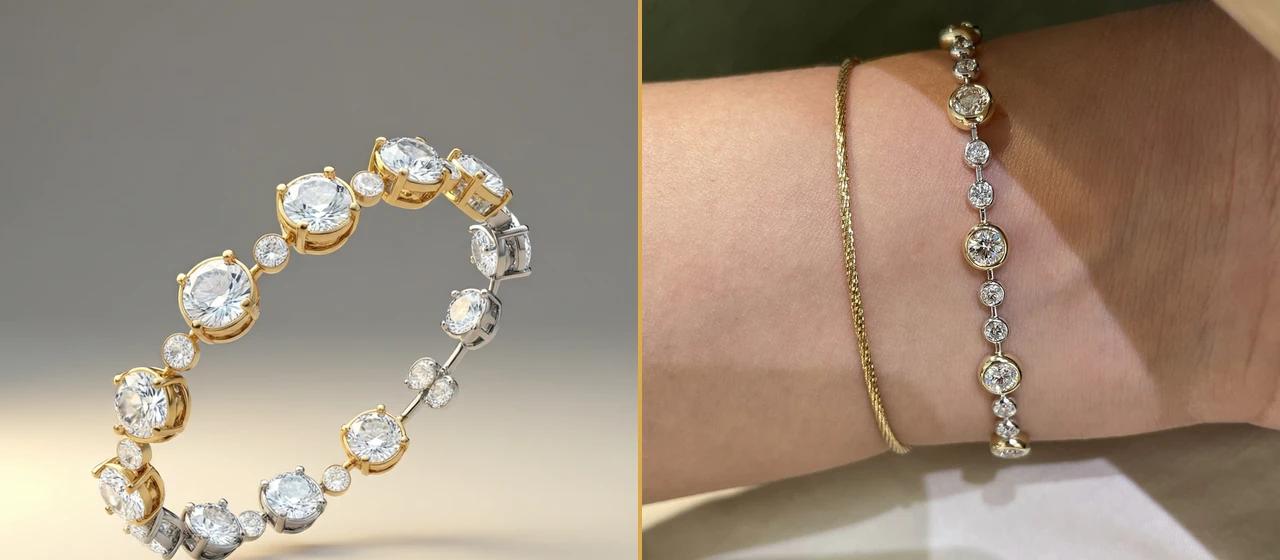
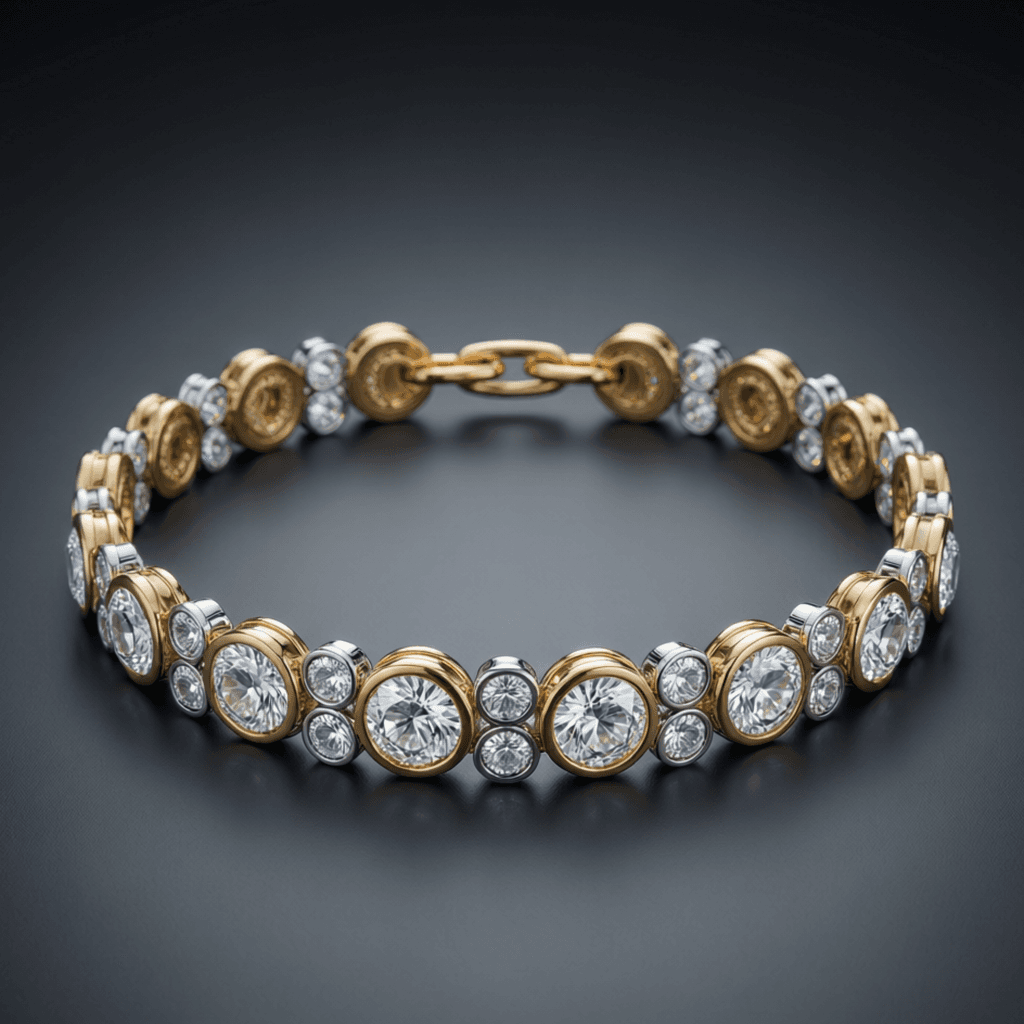
What the customer sent us: a AI-generated image — file CASE-006-AI-BRACELET.png. Not a brief, not a tech pack: the raw starting material, shown exactly as received.
2 · The manufacturing challenge
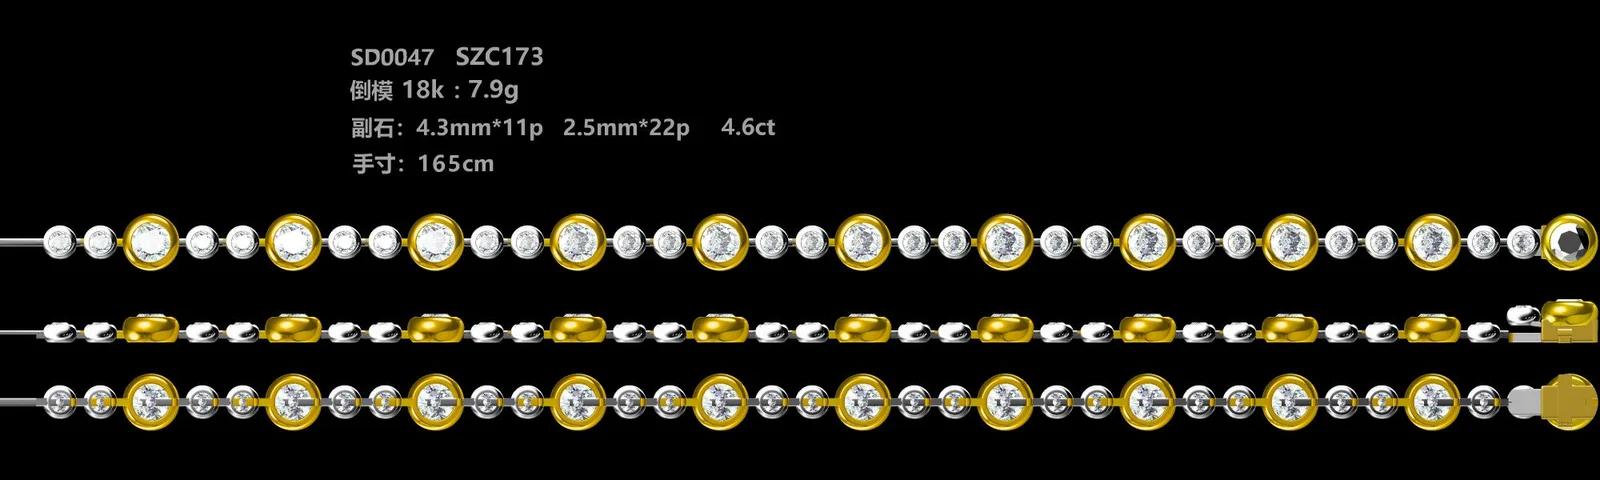
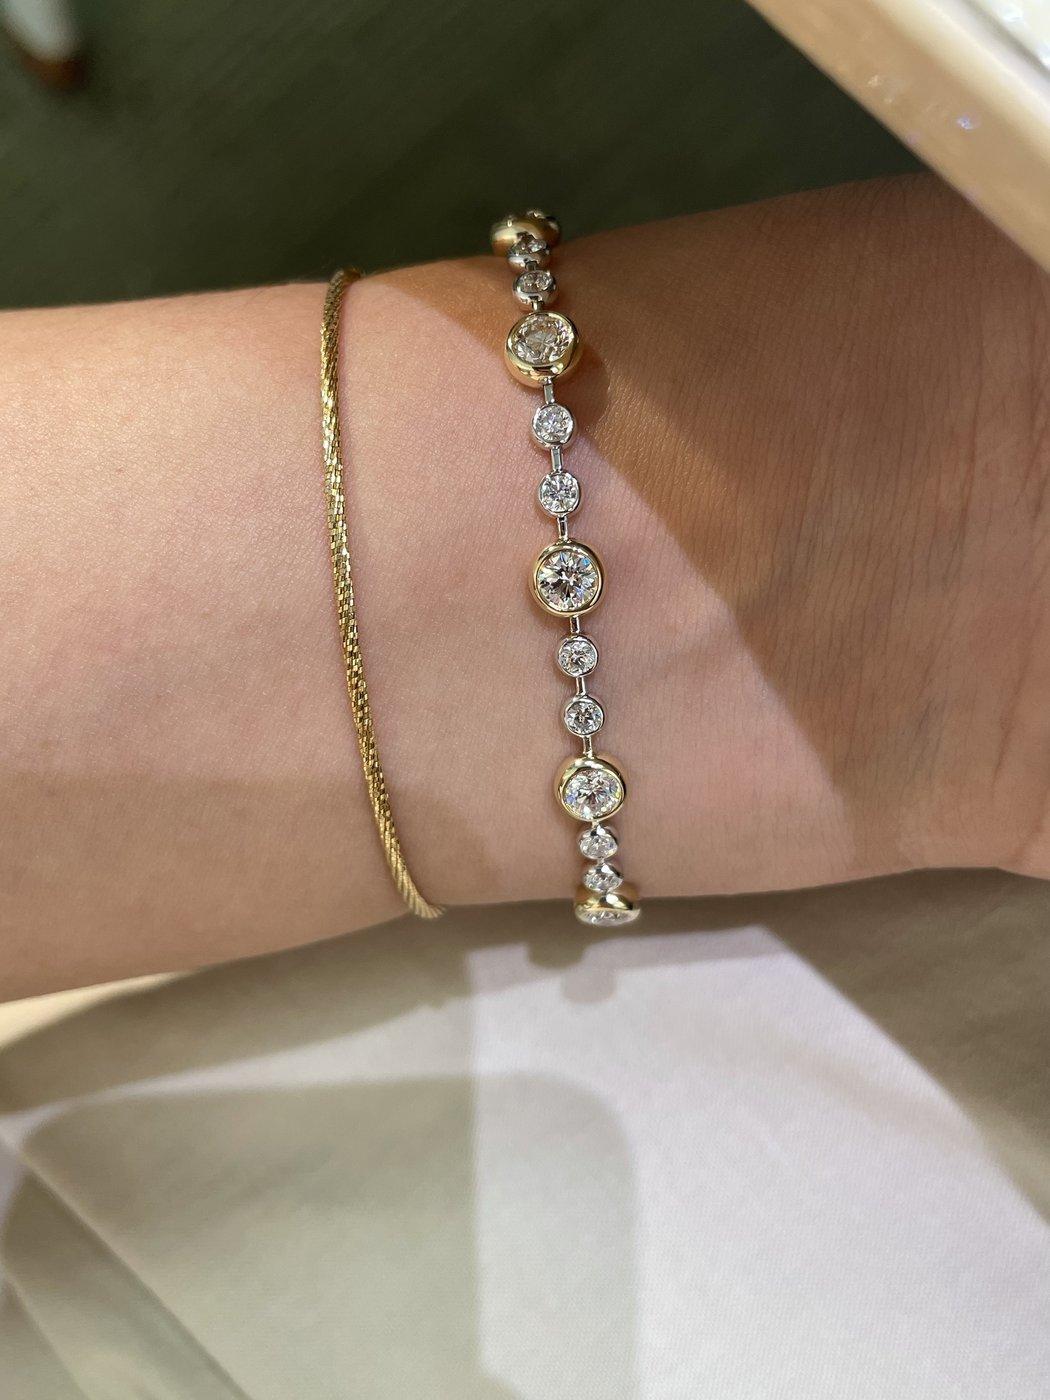
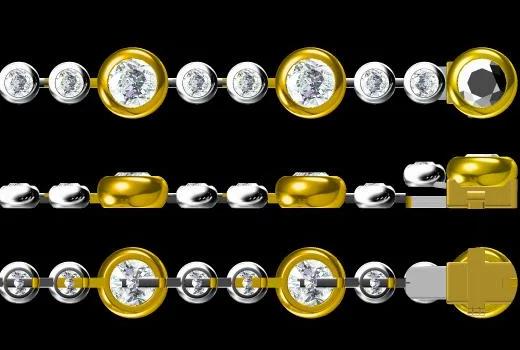
The AI image showed a line of stones floating with no setting — no bezels, no connecting bars and no clasp — so it could neither be cast nor worn. We rebuilt each stone in its own castable bezel (larger stones in yellow gold, paired smaller stones in white gold), thinned the bars between them so the line stays flexible on the wrist, and added a folding box clasp with a safety catch, then re-approved the corrected CAD (v2) before wax carving.
3 · CAD development
The design was rebuilt as a manufacturable 3D model — revisions stayed in CAD where they belong (2 versions: CASE-006-CAD-FRONT.webp, CASE-006-CAD-V2-FRONT.webp). Every view the customer approved came from this model, not from a mood image.
4 · Production
Approved model to printed pattern, lost-wax cast, sprue cut, bench assembly, setting and polishing — the same six stations any project passes through, logged on this piece's private tracking link as it moved.
5 · The finished piece
Photographed at final QC before packing — file CASE-006-FINAL-PRODUCT.jpg. These are the photos that go to the customer first, before any box closes.
6 · Idea vs. reality, side by side
The last row of every case is the honest one: original input next to finished metal. Sometimes the difference is engineering you should never see; sometimes it is a change the customer asked for once they saw the CAD. Both are part of the record.
More from the production record
What these pages are — and are not
They are production records with the customer’s permission, published in the order the work actually happened. They are not a catalogue: none of these pieces is for sale as-is, and none will be recast for someone else. Your project will not end up looking like CASE-001 — it will end up looking like your approval.
Photo slots above carry each file’s real name — the underlying photos are being published as the factory archive is cleared for release. Until a slot fills, you are reading the record before the gallery; the process description is exactly what the QC log contains. See how the inputs are handled on jewelry from sketch.
Two more things worth stating plainly. First, traceability: when a case lists a metal or a stone, it is the actual material that went into that piece, logged the same way your own order would be — because the record a customer receives is the record this factory keeps internally, not a separate marketing summary. Second, privacy: several inputs here are genuinely personal — a child’s drawing, a reworked heirloom, a design built around a stone with history. Those are published only with written permission, sometimes with identifying details softened, and never reused as a template for another buyer. The point of showing real work is trust, and trust would be broken the moment a case became stock content. If a slot above is still empty, it is because a customer has not yet agreed to publication — not because the piece does not exist.
Your idea deserves its own case file
Send what you have — sketch, photo or AI render. Six steps from now, with a CAD approval in the middle, it becomes a finished piece with its own private tracking link.